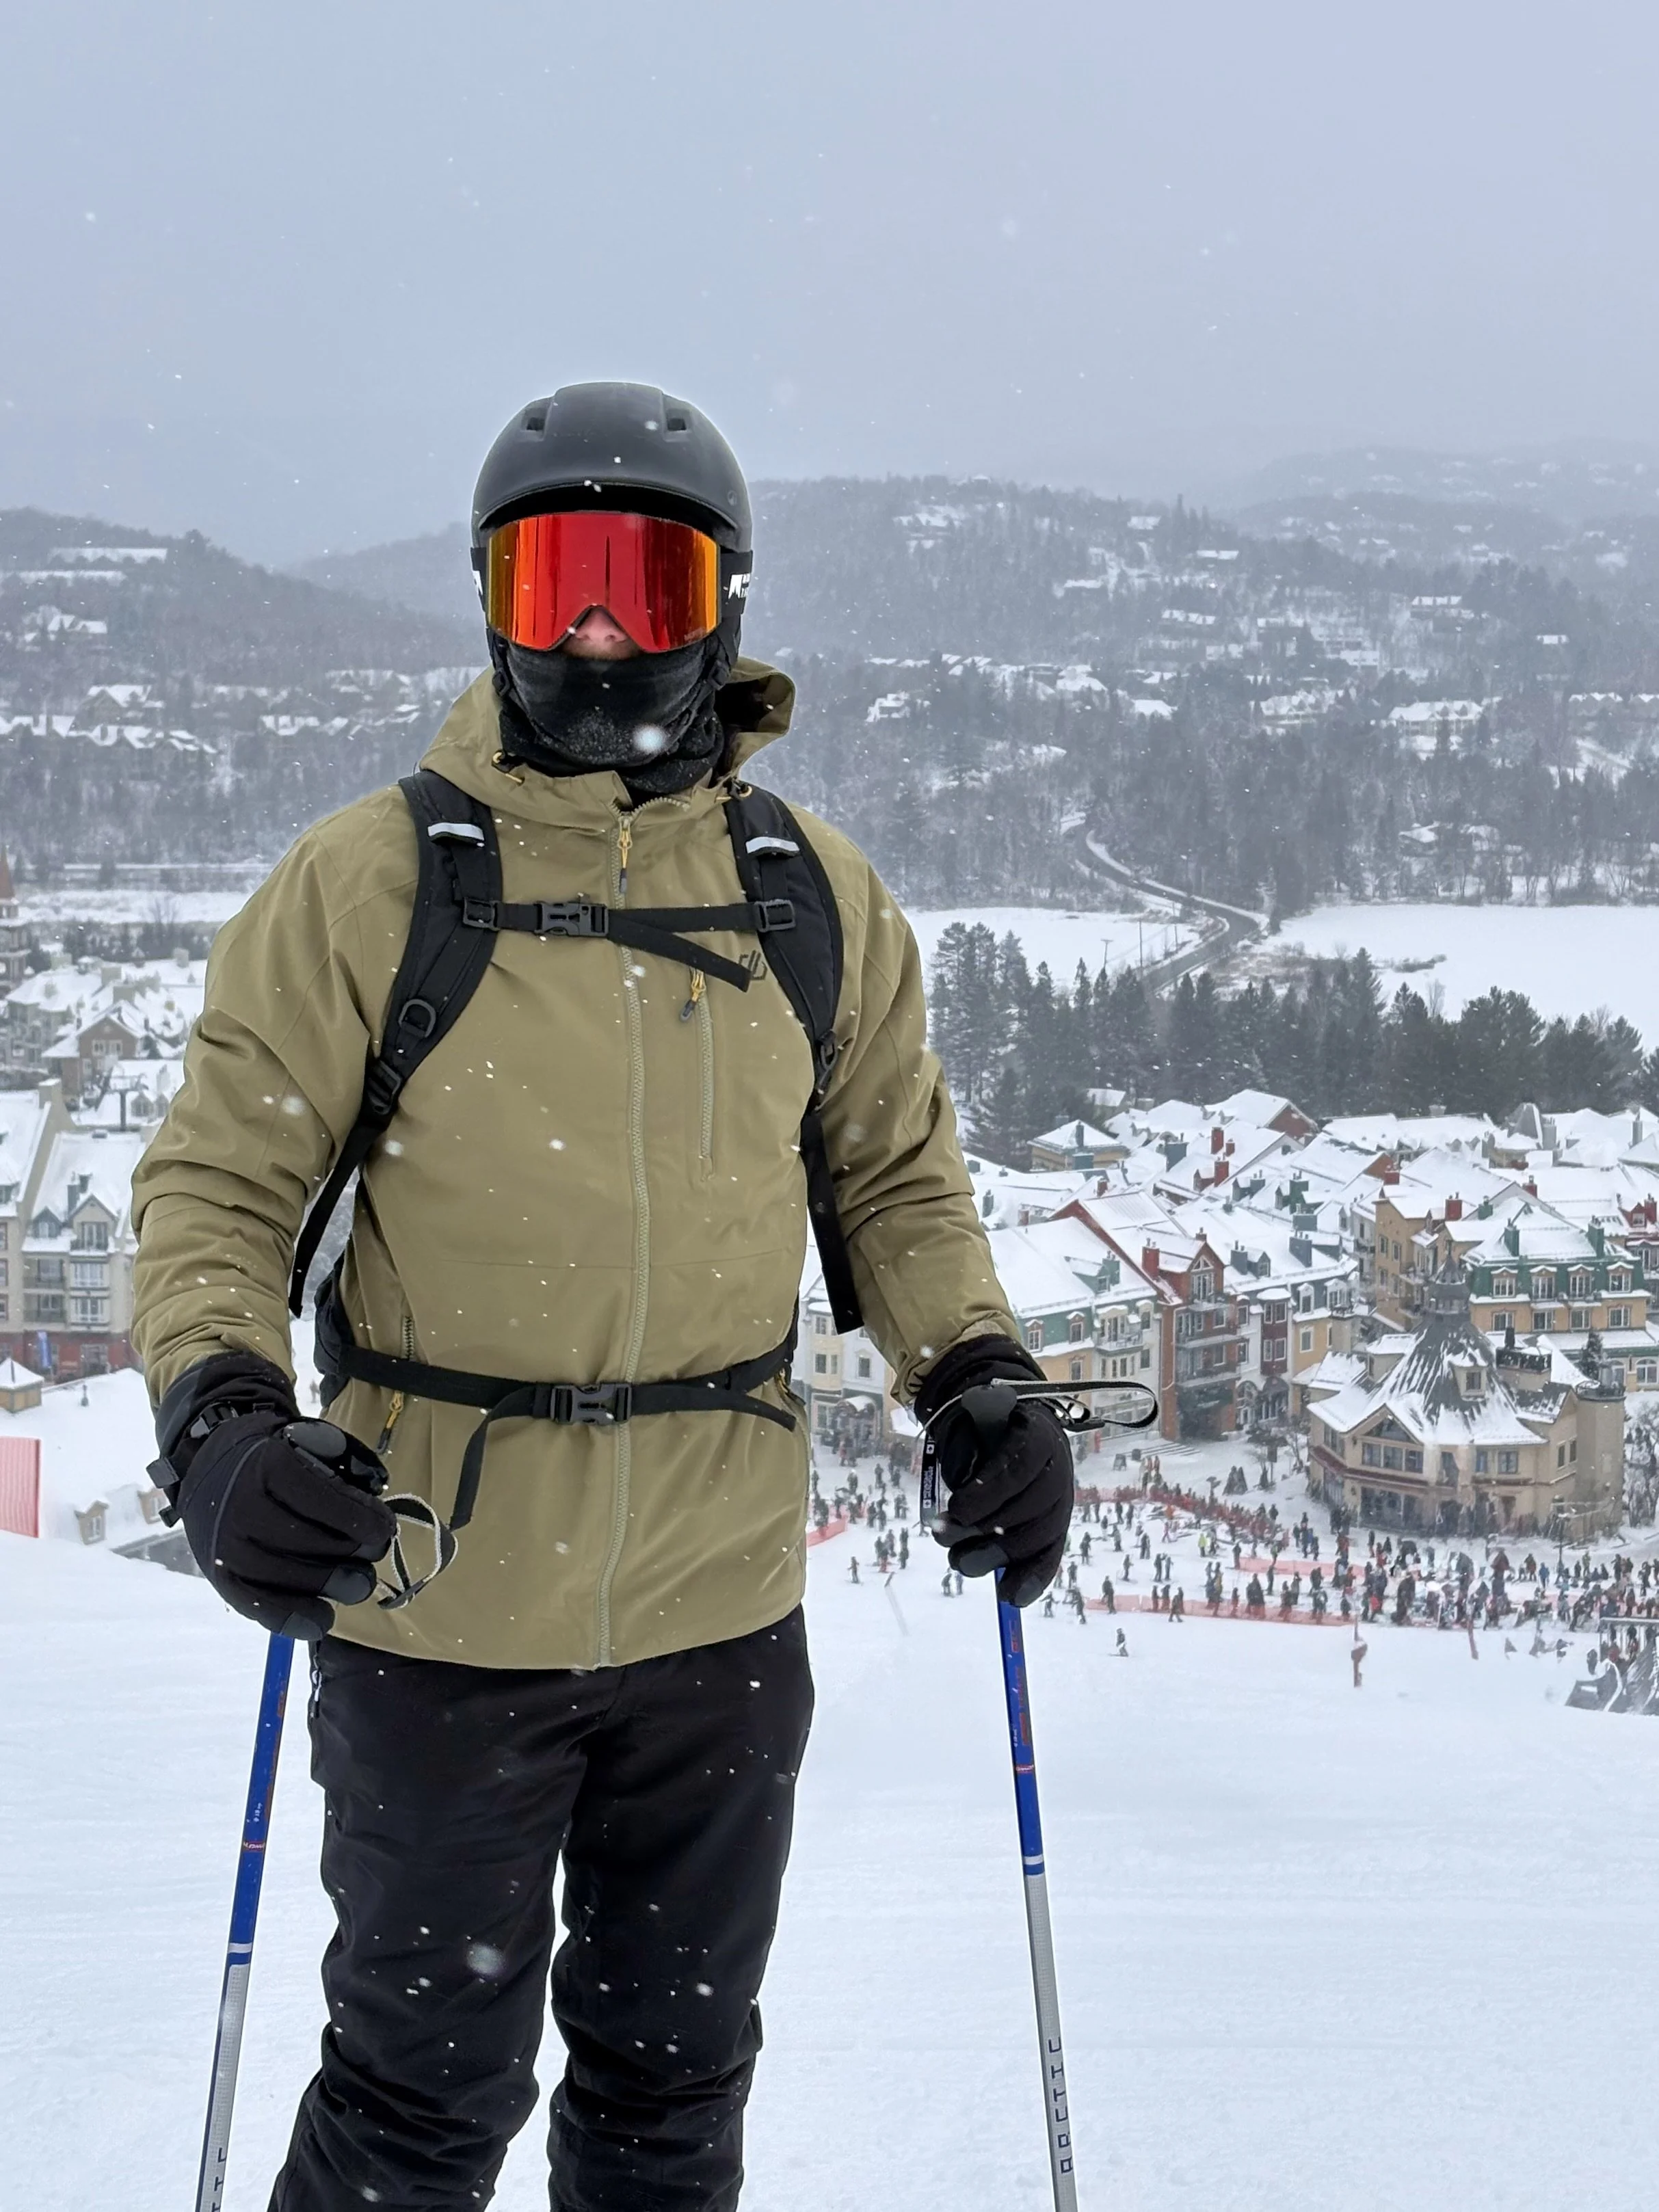
Ski Essentials: Beyond the Basics
The things that actually made a difference on my recent ski trip to Canada.
Most packing lists cover the obvious — jacket, helmet, skis.
This is the extra layer of detail — the things that, in practice, made the days smoother, more comfortable, and meant we could stay out longer without needing to head back in.
I’ve been on 14 ski trips now, and this list hasn’t come from one trip — it’s been built up over time. Each trip I’ve added something, removed something, or upgraded something after realising what actually works (and what doesn’t).
I also feel the cold quite easily — especially in my hands and feet — so a lot of this is shaped by that. If anything, this list leans slightly cautious. But in my experience, it’s better to have that margin than be cutting days short because you’re cold.
If you’re skiing anywhere consistently below -10°C, some of these stop being “nice to have” and become non-negotiable.
For context, on this Canada trip most days sat around -10°C to -15°C, which is where these really proved their value. I have previously experienced freak temperatures as low as -36°C at the same resort, which reinforced a lot of these choices.
👉 Read the full itinerary here: Canada (City and Ski): Toronto, Montreal and Mont Tremblant
(This post contains some affiliate links. This means I may earn a small commission if you book or purchase through these links, at no extra cost to you. These are the products I’ve been most satisfied with after testing many different options throughout the years.)
My full gear walkthrough post from Instagram. All product links are captured below
Non-Negotiables for Colder Resorts (below -10°C)
TEMPERATURE RATED Outerwear
-24°C rated ski jacket
-24°C rated salopettes
This is worth calling out separately, because it underpins everything else.
On this trip, I was using a -24°C rated jacket and salopettes, and you can really feel the difference compared to standard ski gear — particularly on lifts and in wind.
Even with good base layers, if your outer shell isn’t up to it, the cold gets through. With the right outerwear, you create a proper barrier that keeps everything else working effectively.
Below -10°C, this becomes non-negotiable in my experience — especially if you’re skiing full “first and last lift” days.
Shop my picks:
Ski jacket → DARE2BE Men's Eagle III Ski Jacket | Olive Green
Salopettes → DARE2BE Men's Achieve II Ski Pants | Black

DARE2BE -24°C rated ski jacket and salopettes
MERINO Wool Base Layers
Merino wool thermals (top + bottom)
Merino socks
Merino balaclava
Neck guard
This is probably the clearest example of trial and error. I’ve used cheaper synthetic layers before and they just don’t compare — you either overheat or end up damp and cold.
Adding merino socks made a noticeable difference as well. They keep your feet warm without overheating in ski boots, and help avoid that cold, slightly damp feeling later in the day — particularly important if, like me, your feet tend to get cold first.
Merino overall just works better — it regulates temperature properly and stays comfortable throughout the day.
After a few trips of getting this wrong, this is now something I don’t compromise on — especially below -10°C, where it makes a noticeable difference to how long you can stay out comfortably.
I tuck each layer into the others as much as I can to retain the heat. I.e. I’ll tuck my top layer into my bottoms, and I’ll tuck my bottom layers into my socks etc.
Shop my picks:
Additional merino layer → UNIQLO 100% Merino Crew Neck Jumper
Balaclava → DANISH ENDURANCE Merino Wool Balaclava
Neck guard → DANISH ENDURANCE Merino Wool Neck Warmer
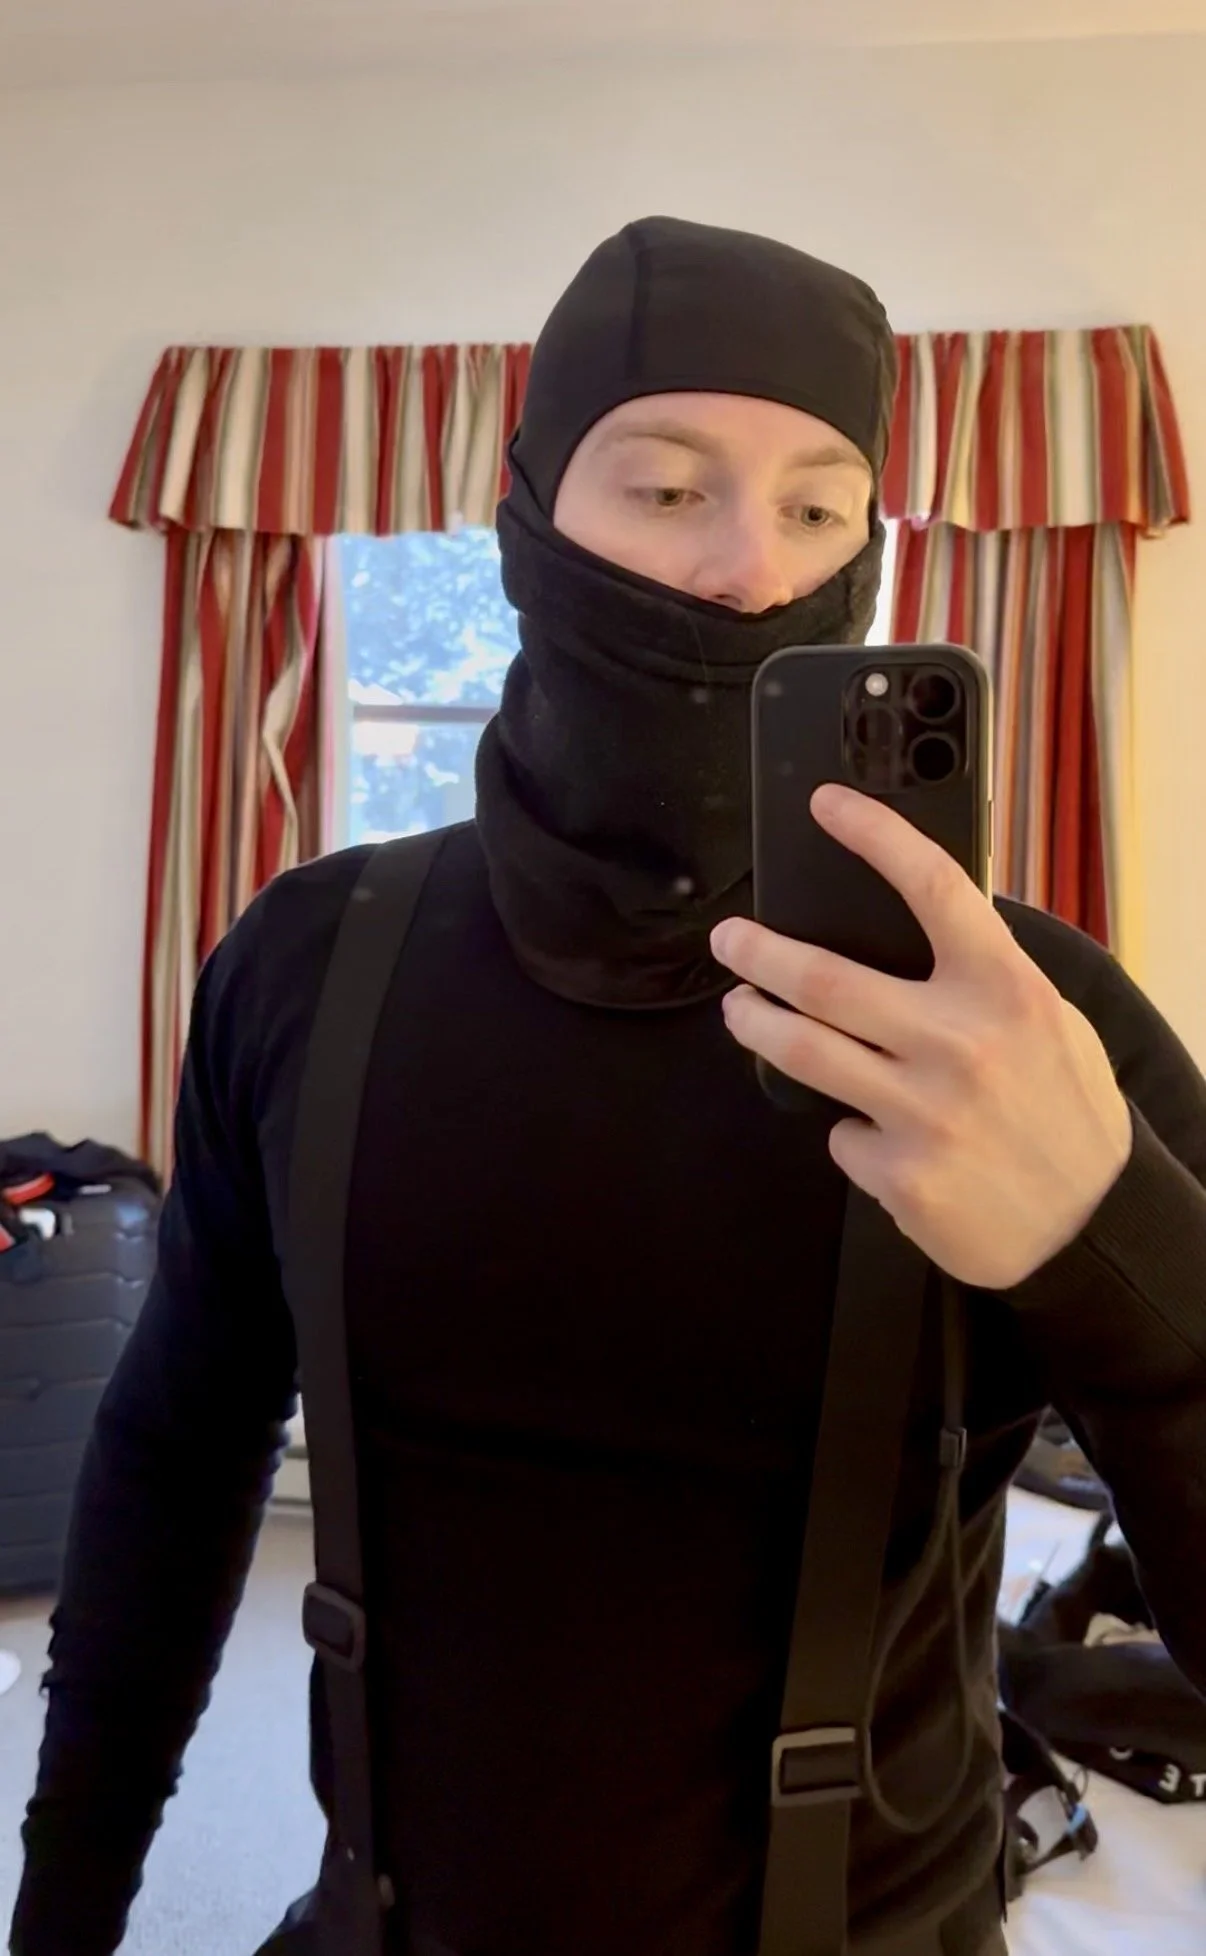
Merino, merino, merino: All layers overlapping to retain the heat
Hand and Foot Warmers
This latest ski trip was the first time I had used these and I absolutely loved them - so much so that I was wearing using them in London during the winter time too.
They’re particularly useful if, like me, you tend to feel the cold in your extremities first. Having a reliable way to keep your hands and feet warm means you can stay out much longer without discomfort creeping in. If you have a thumbhole cuff in your ski jacket, they fit very well there (see photo below).
Below -10°C, I’d consider these essential. It’s one of those things you don’t think you need until you do.
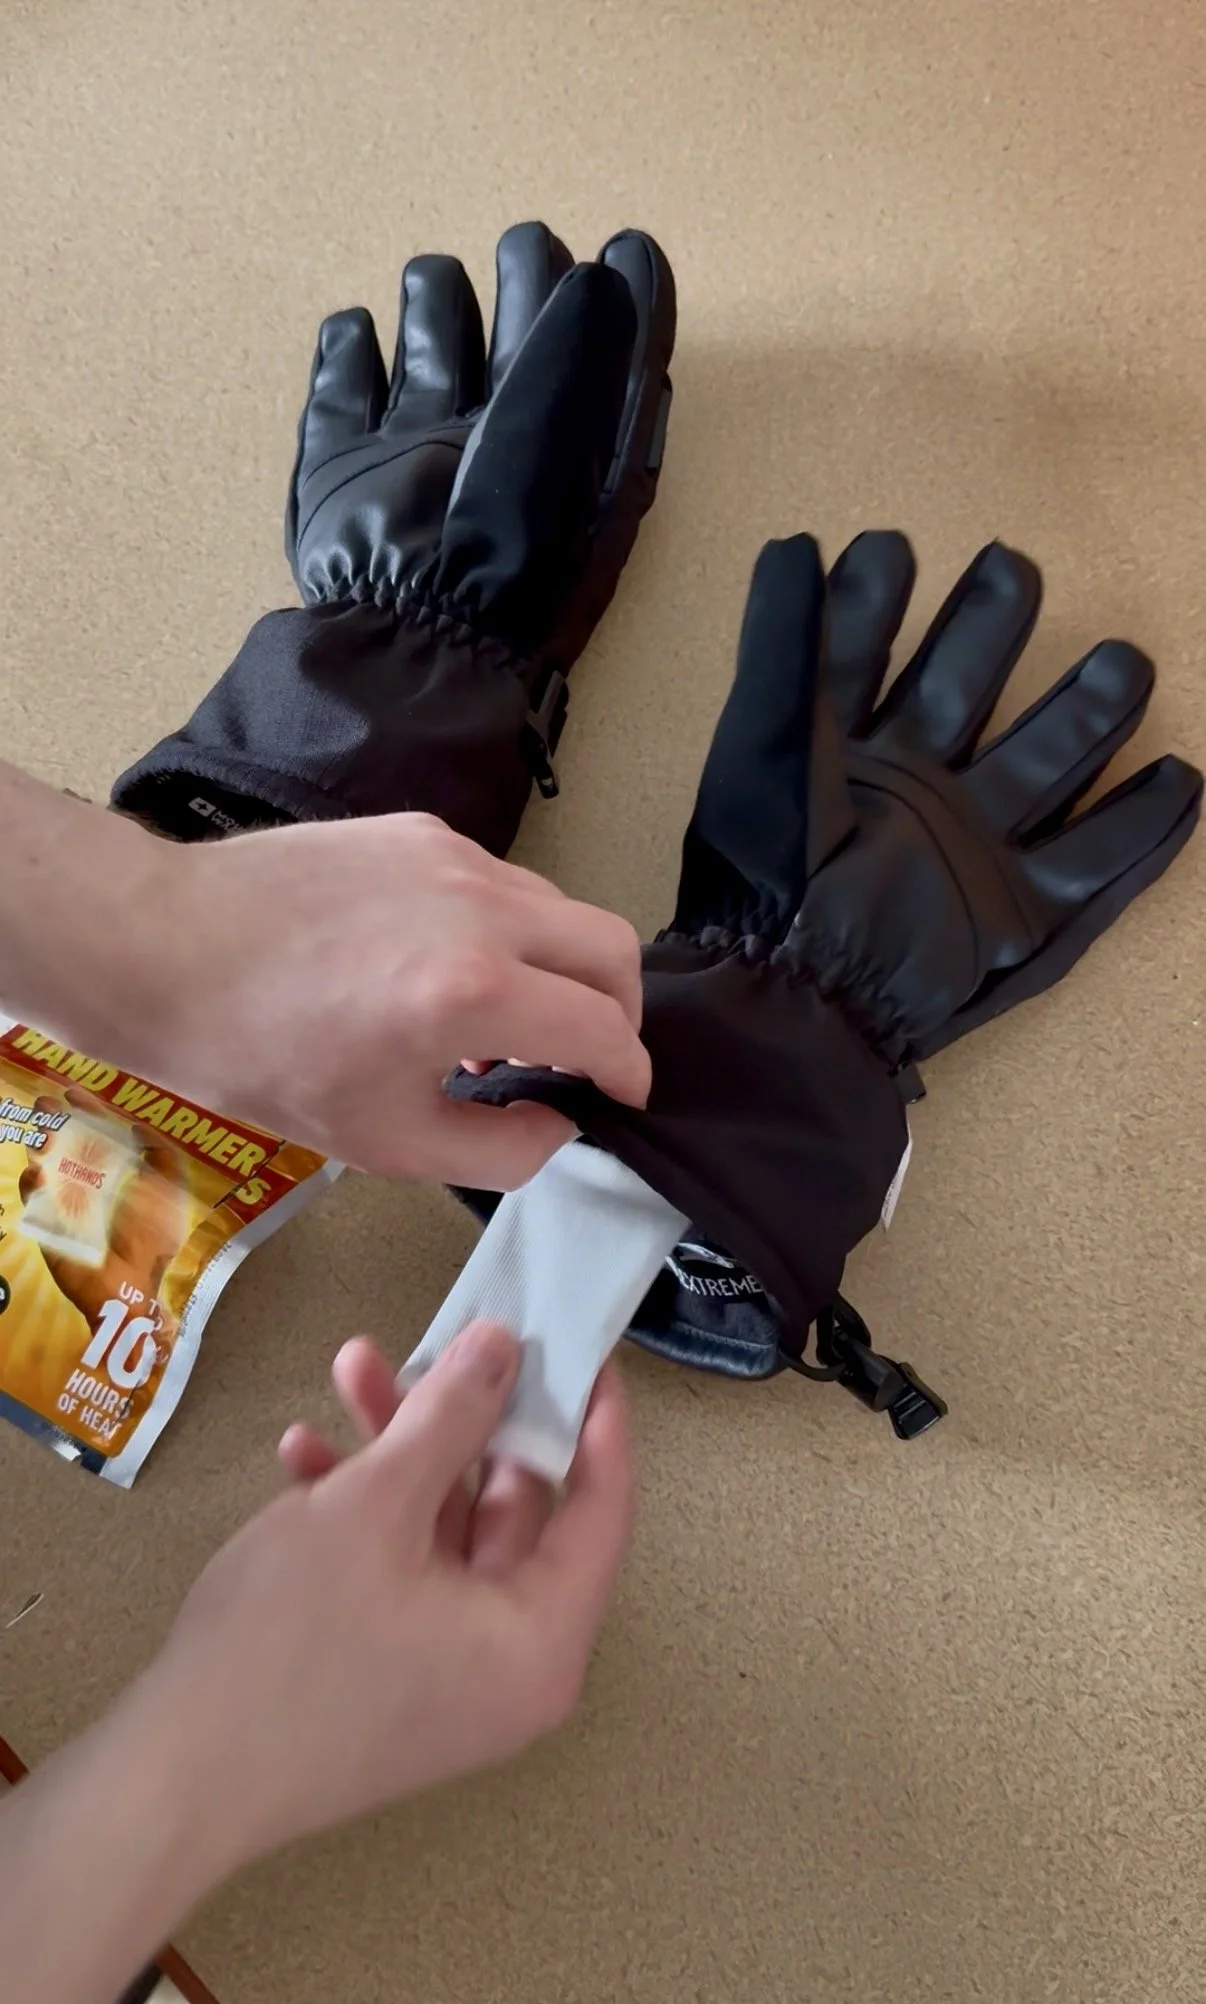
They stay warm for up to 10 hours so I found that they were also great to warm up the gloves before wearing them, and also to leave in the gloves post skiing to air them out and prevent that sweaty gloves smell.
Shop my picks:
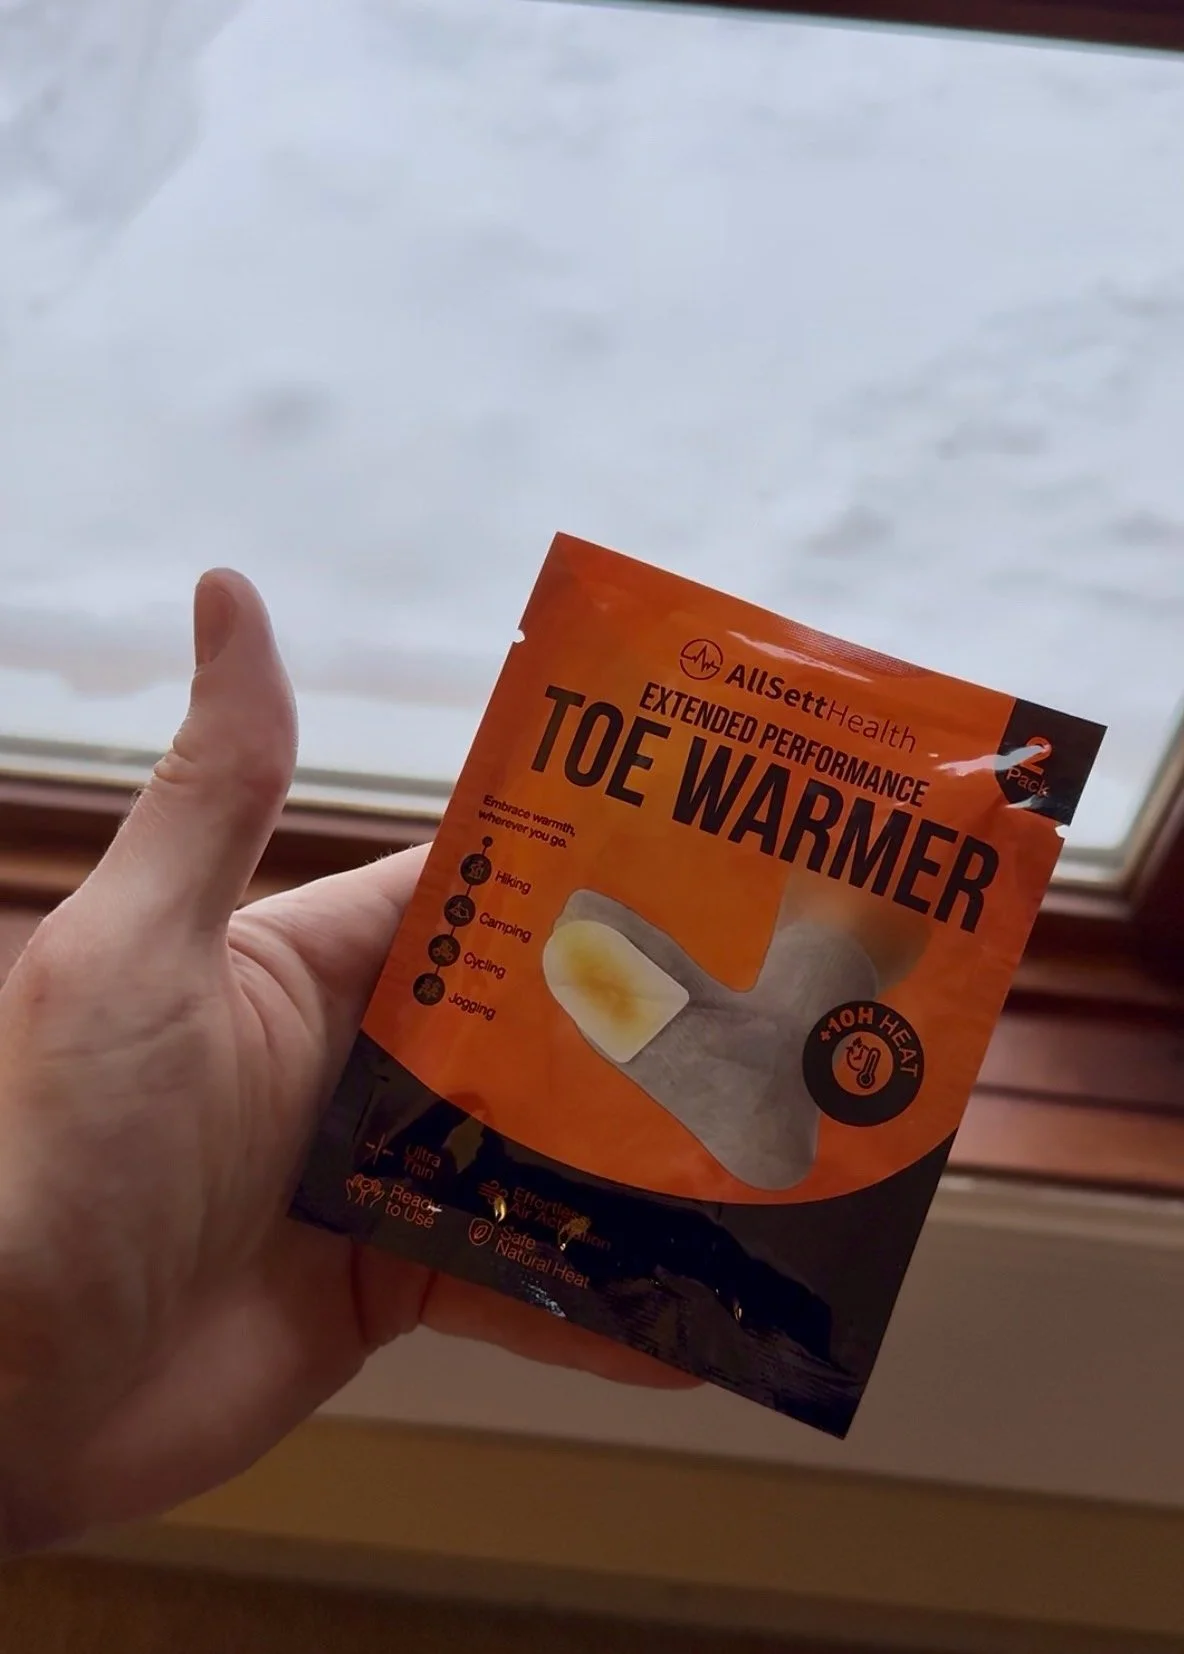
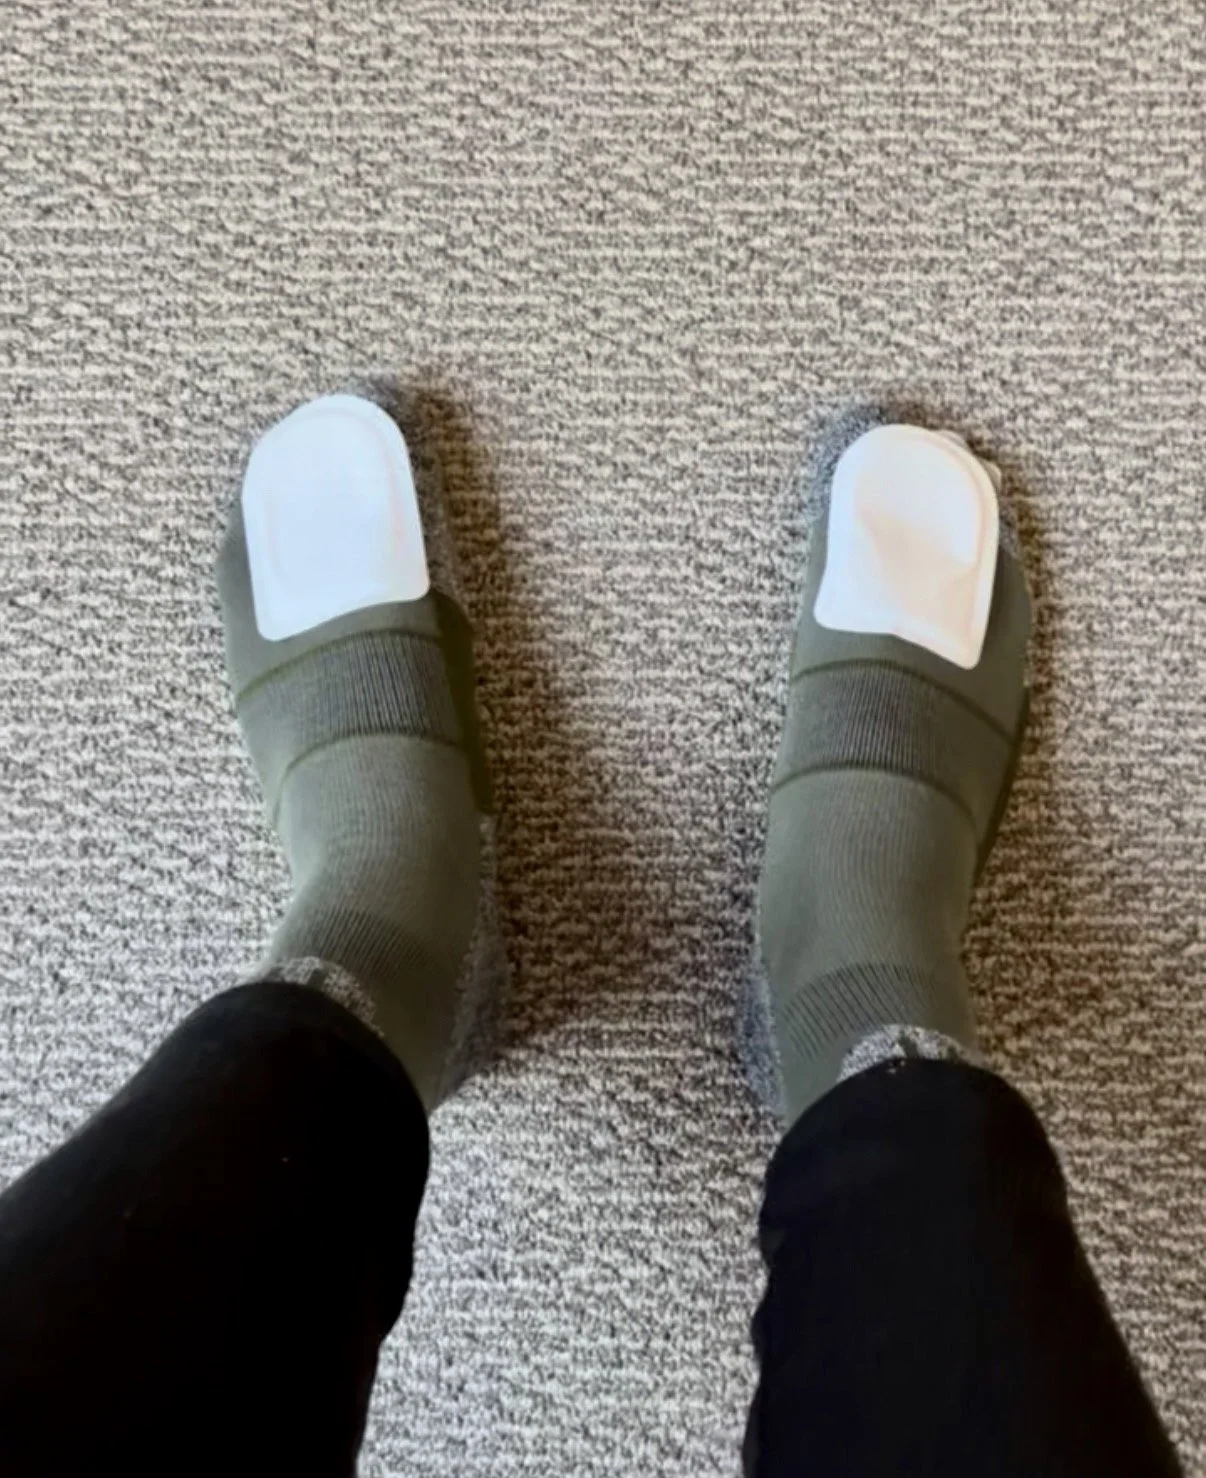

My new favourite thing: hand and toe warmers
Temperature Rated Gloves
This is another area where I’ve upgraded over time. Cheaper gloves might be fine for milder conditions, but in colder temperatures they just don’t hold up.
For me, this was particularly noticeable — once my hands got cold, it was very difficult to recover. Switching to properly insulated gloves removed that issue completely.
I also use inner gloves, with a touch screen tip, so that I can use my phone without exposing my hands to the cold. On this basis I recommend that you buy outer gloves that are one size above your typical size so that you can wear the inner gloves underneath.
Shop my picks:
-30°C gloves with lense wipe → MOUNTAIN WAREHOUSE Ultra Cold Weather Ski Glove
Inner gloves with touch screen finger tip→ MOUNTAIN WAREHOUSE Touch Screen Liner Gloves
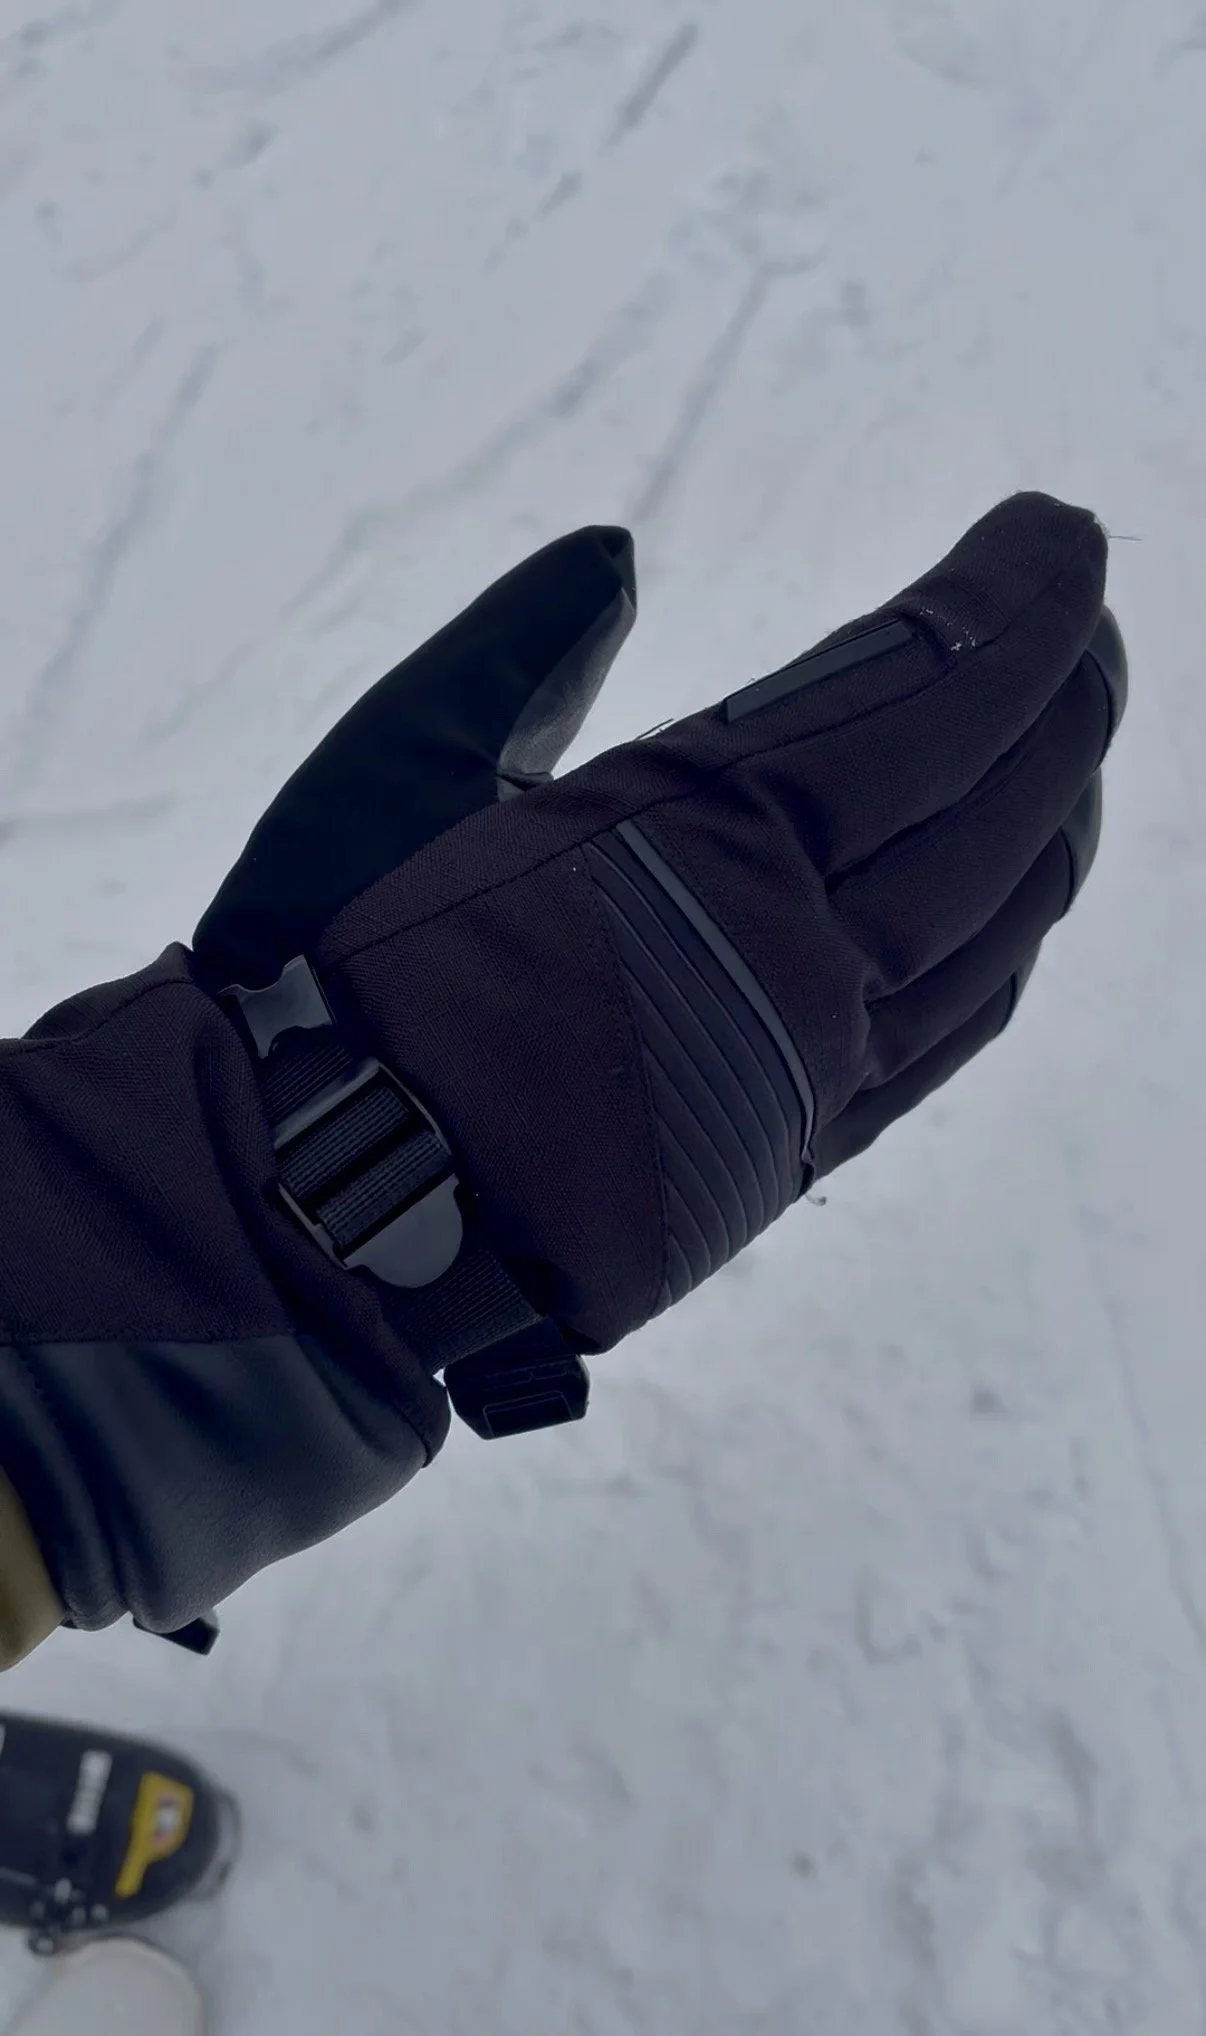
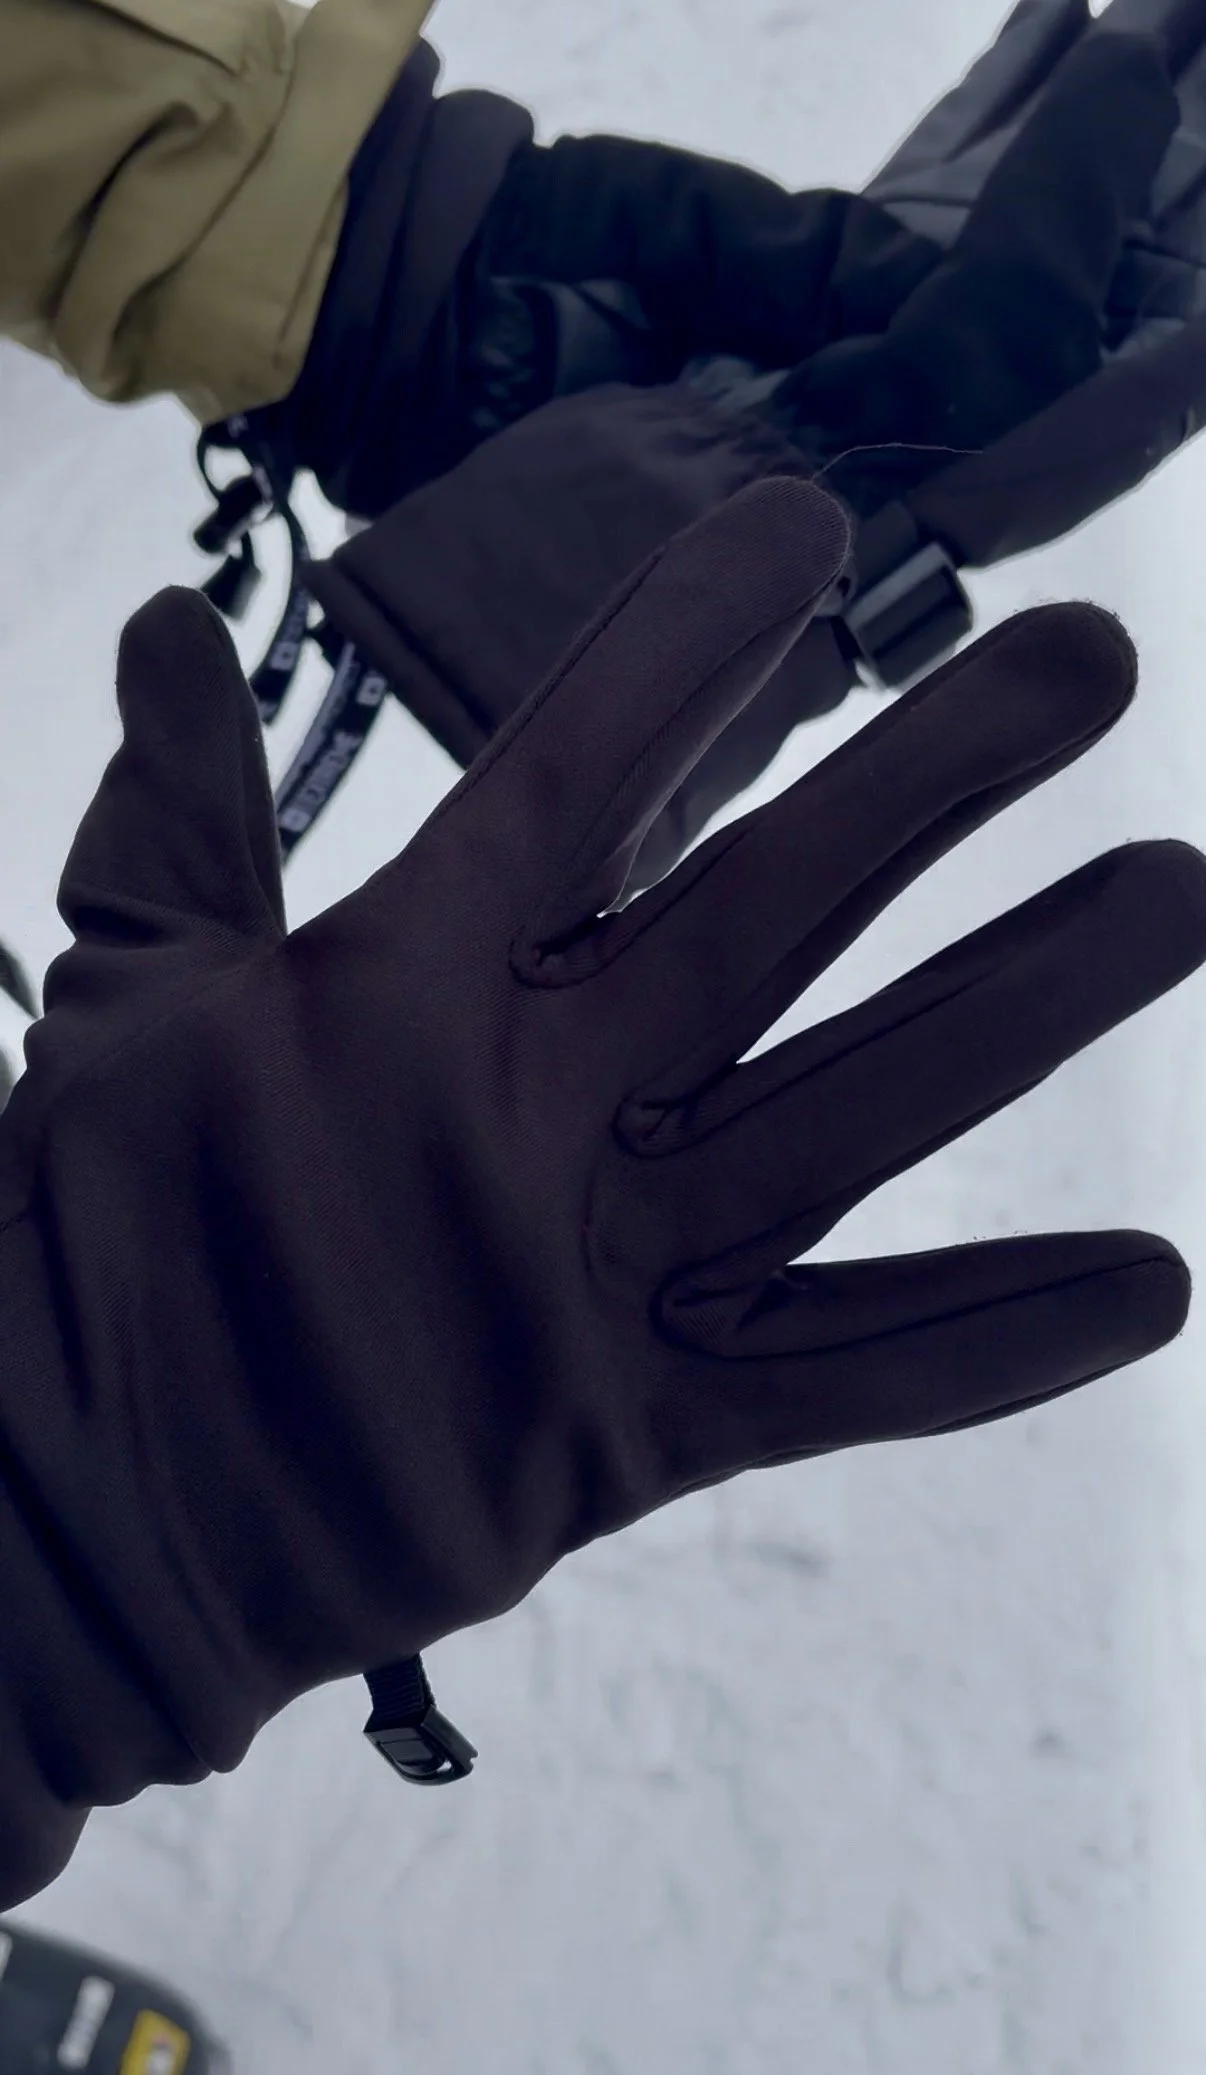
-30°C rated gloves with inner lining
Temperature rated Boots for After Skiing
This is something I underestimated on earlier trips. You spend a fair amount of time walking around before and after skiing, and standard trainers aren’t enough in colder conditions. This is especially the case after a day of skiing when your socks will likely be quite steamy and damp.
Upgrading to proper temperature rated winter boots (-30°C) makes post ski time much more comfortable, especially in places like Canada.
I also make sure that the specification is anti-slip as ski resorts can be icy and I have seen countless people have very nasty falls whilst walking around.
Shop my pick:
-30°C rated winter boots with ultra grip → MOUNTAIN WAREHOUSE Ultra Iceberg Grip Mens Thermal Waterproof Boots
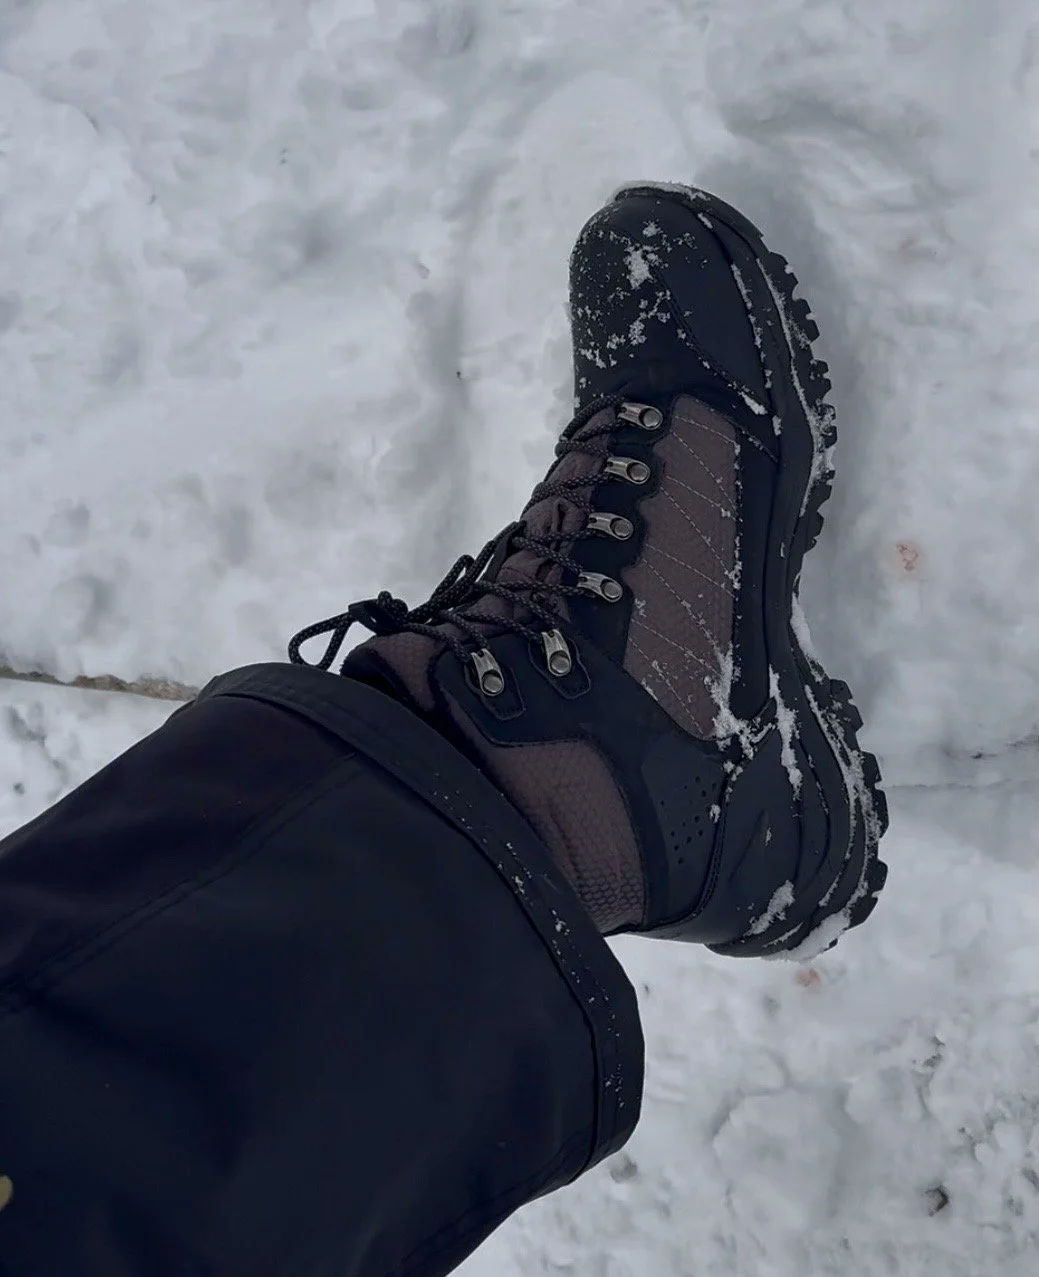
-30°C rated winter boots with ultra grip really prevent that post ski chill
Comfort Upgrades (less essential)
Shin PROTECTORS
This recent trip was the first time I had tried shin protectors. It’s a small addition, but it massively reduces pressure from the boots and makes long days much more comfortable. These will really help especially if you are hiring boots as the boots will not have moulded to the shape of your body. These are best positioned underneath your ski socks.
Shop my pick:
Shin pads → SIDAS SHIN Shin Protectors for Skiing
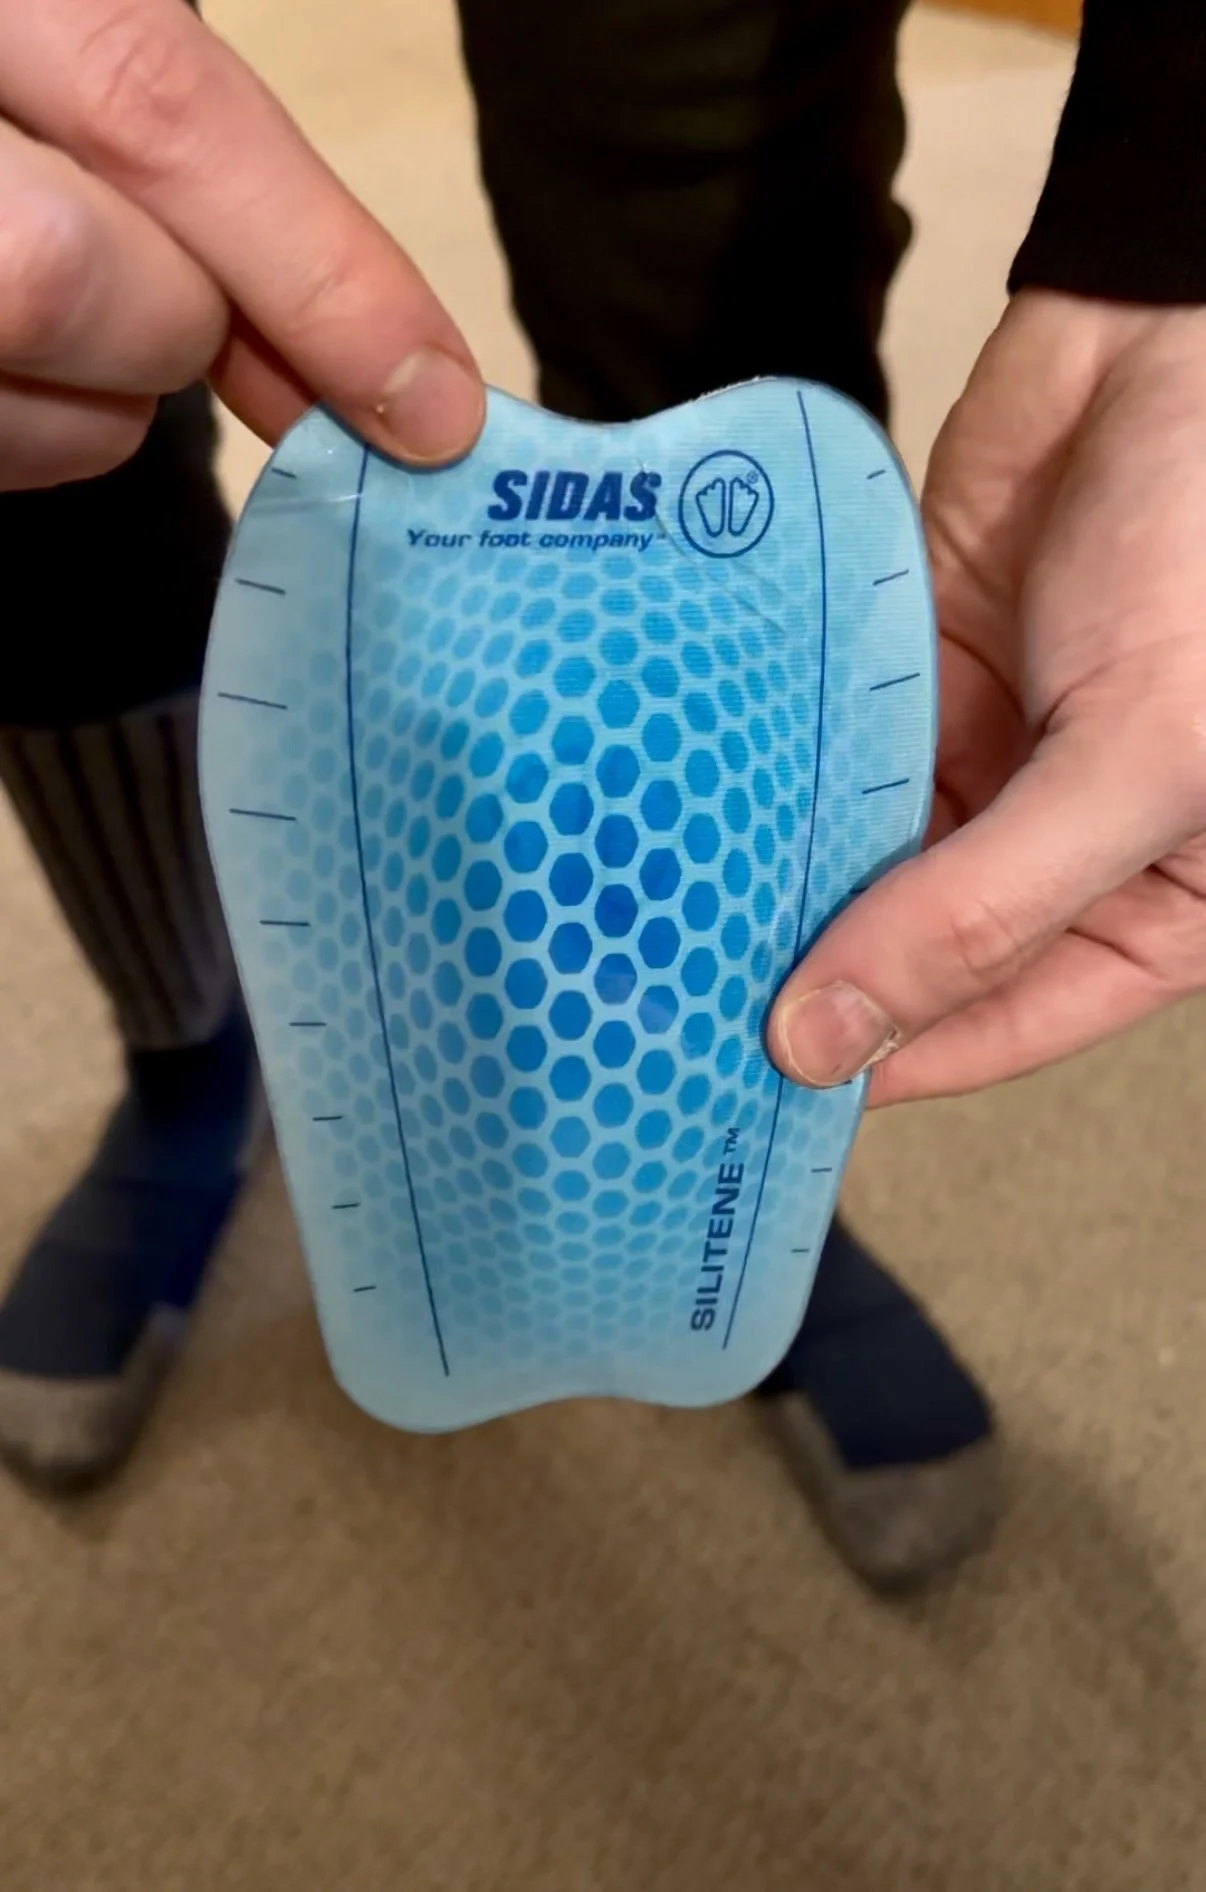
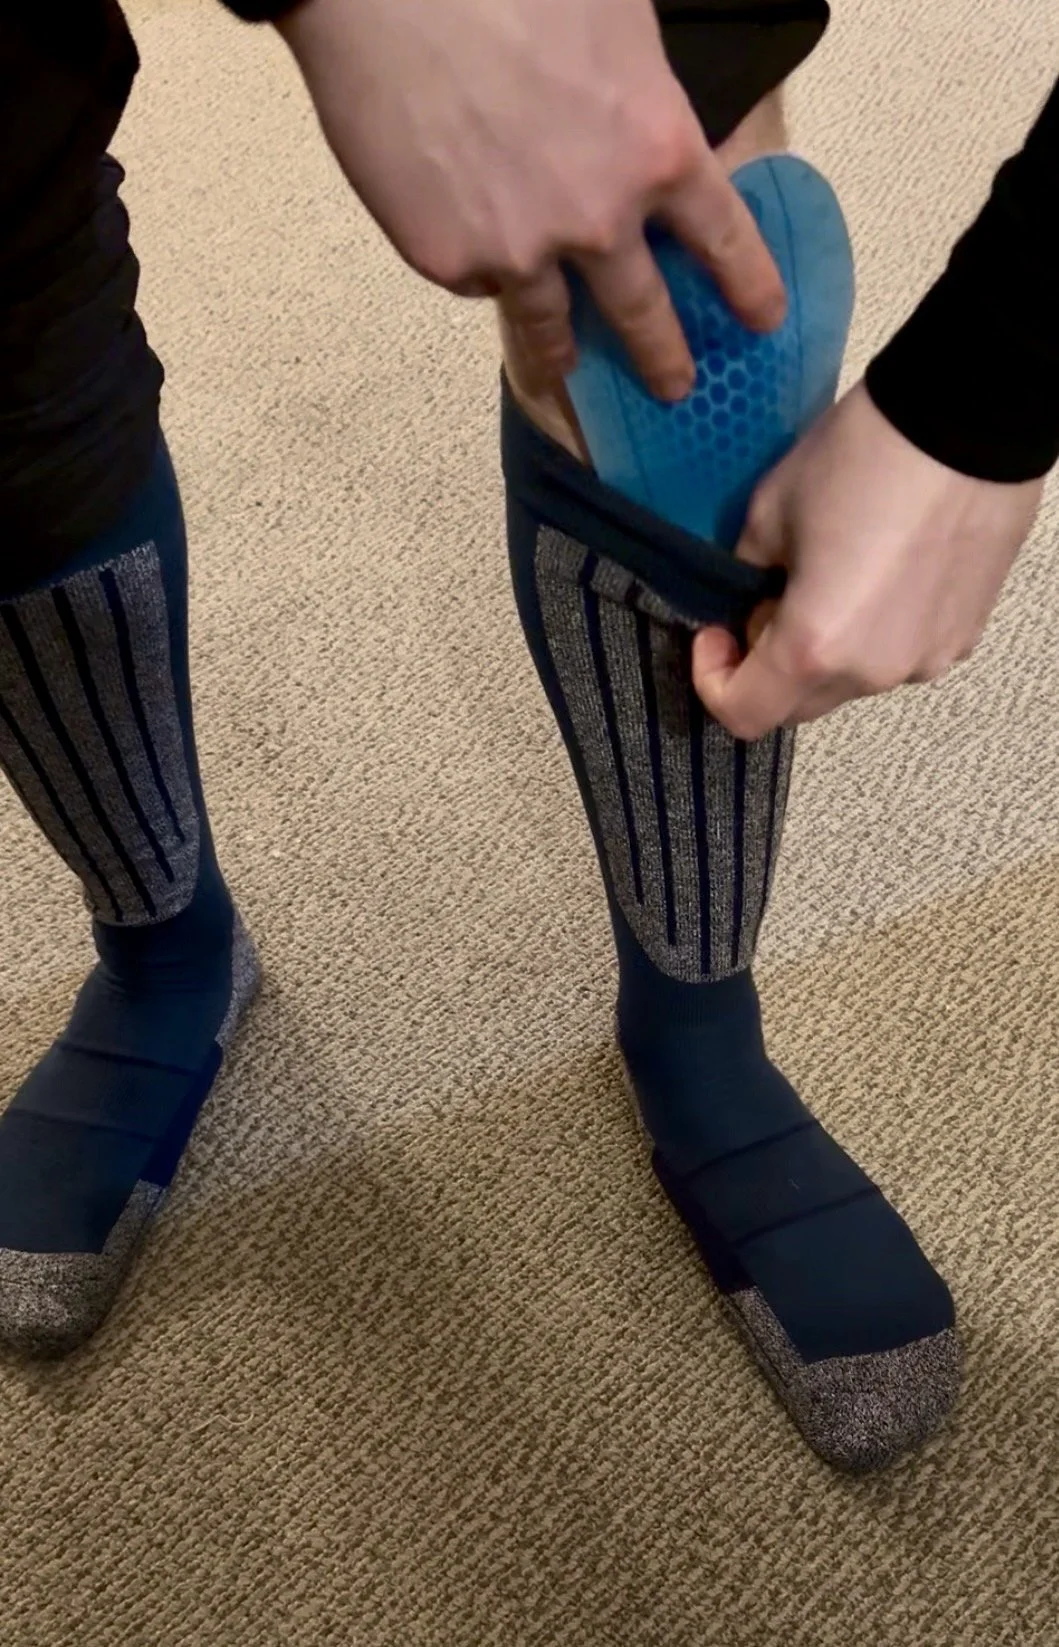
Shin protectors worn underneath ski socks
Phone Lanyard
This is a small addition, but one I now always bring. It keeps your phone secure when taking photos on chairlifts or getting those all important action shots whilst skiing. It might seem trivial but many people drop their phones on chairlifts as that is typically the only time you get to use your phone during a busy day of skiing!
Shop my pick:
Phone lanyard → NlSQW Retractable Phone Lanyard, for Outdoor Sports
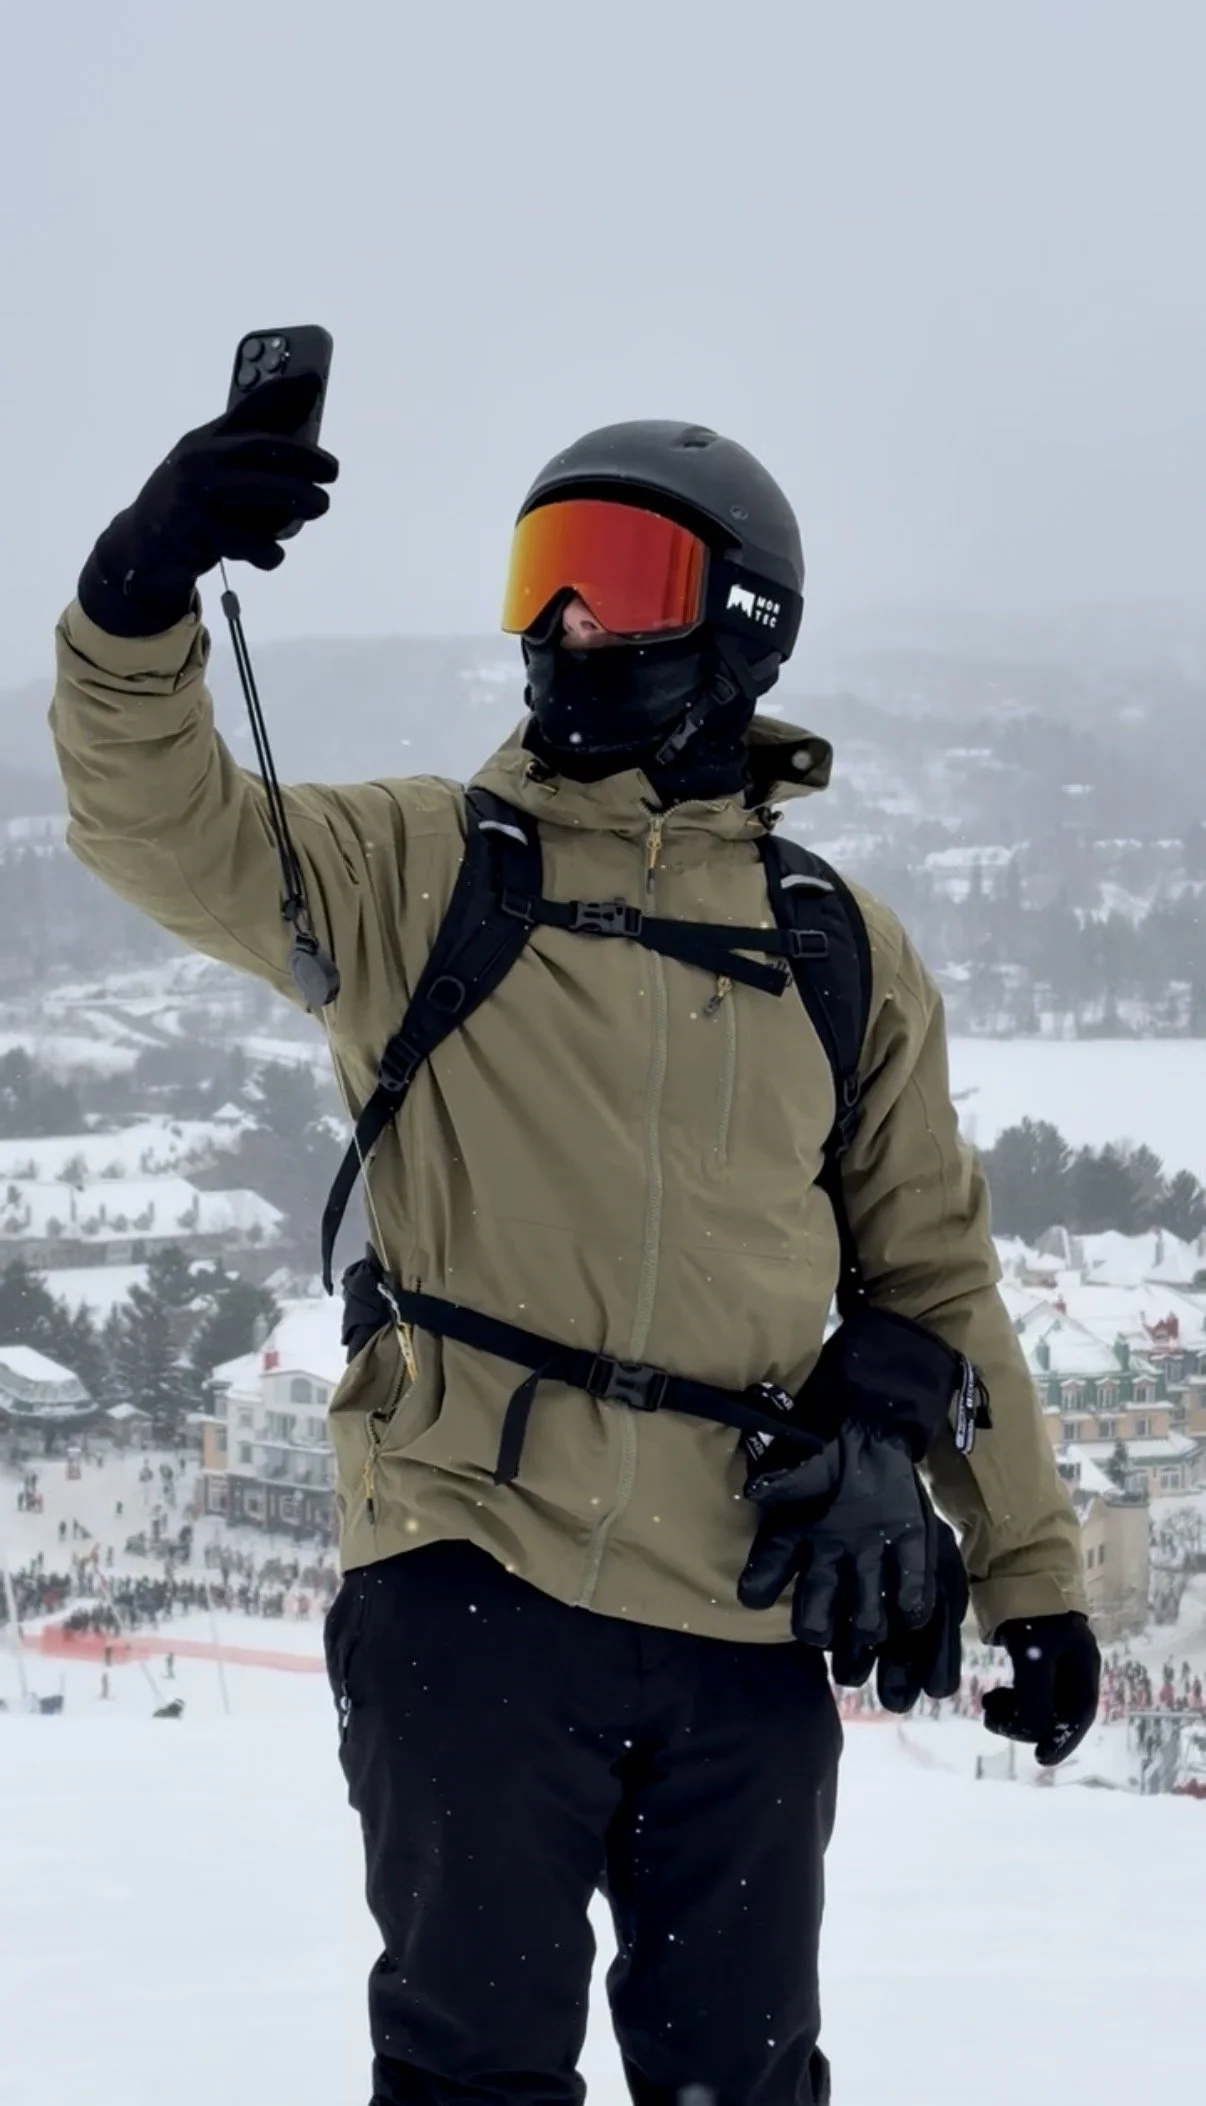
An important use case is also selfies, of course
Sports Backpack (around 15L)
This is something I’ve refined over time. I used to either carry nothing or too much — this is the balance that worked best.
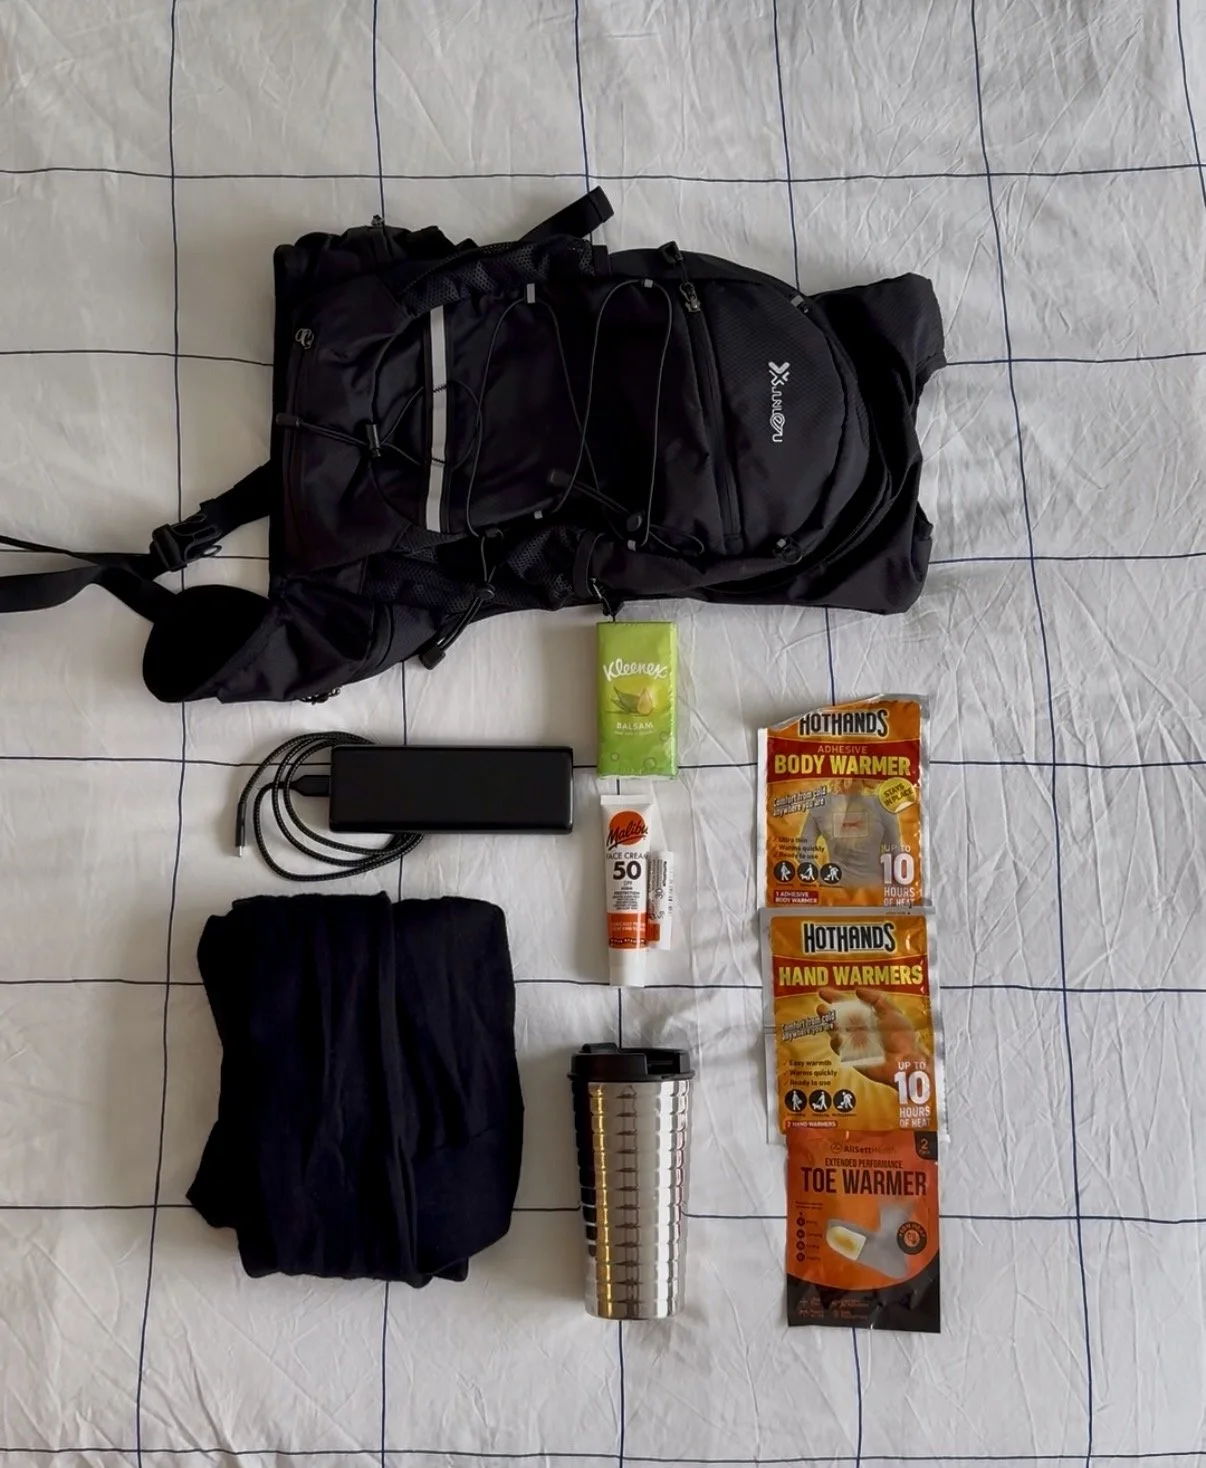
What I keep in mine:
Spare hand and toe warmers
Extra merino layer
Portable charger (my phone battery always drains so quickly in the cold)
Tissues
Sunscreen
UV Lip balm
Flask of coffee
Having these with me meant I didn’t need to plan around going indoors. It gives you flexibility to stay out longer and adapt to the day. I find that 15L is the perfect size - it’s actually quite small.
Shop my picks:
15L backpack → FISTCALE Sports Backpack, 8L, Black, Waterproof
Portable charger → ANKER Power Bank, PowerCore 26800mAh Portable Charger
Flask → NESPRESSO Travel Mug Touch
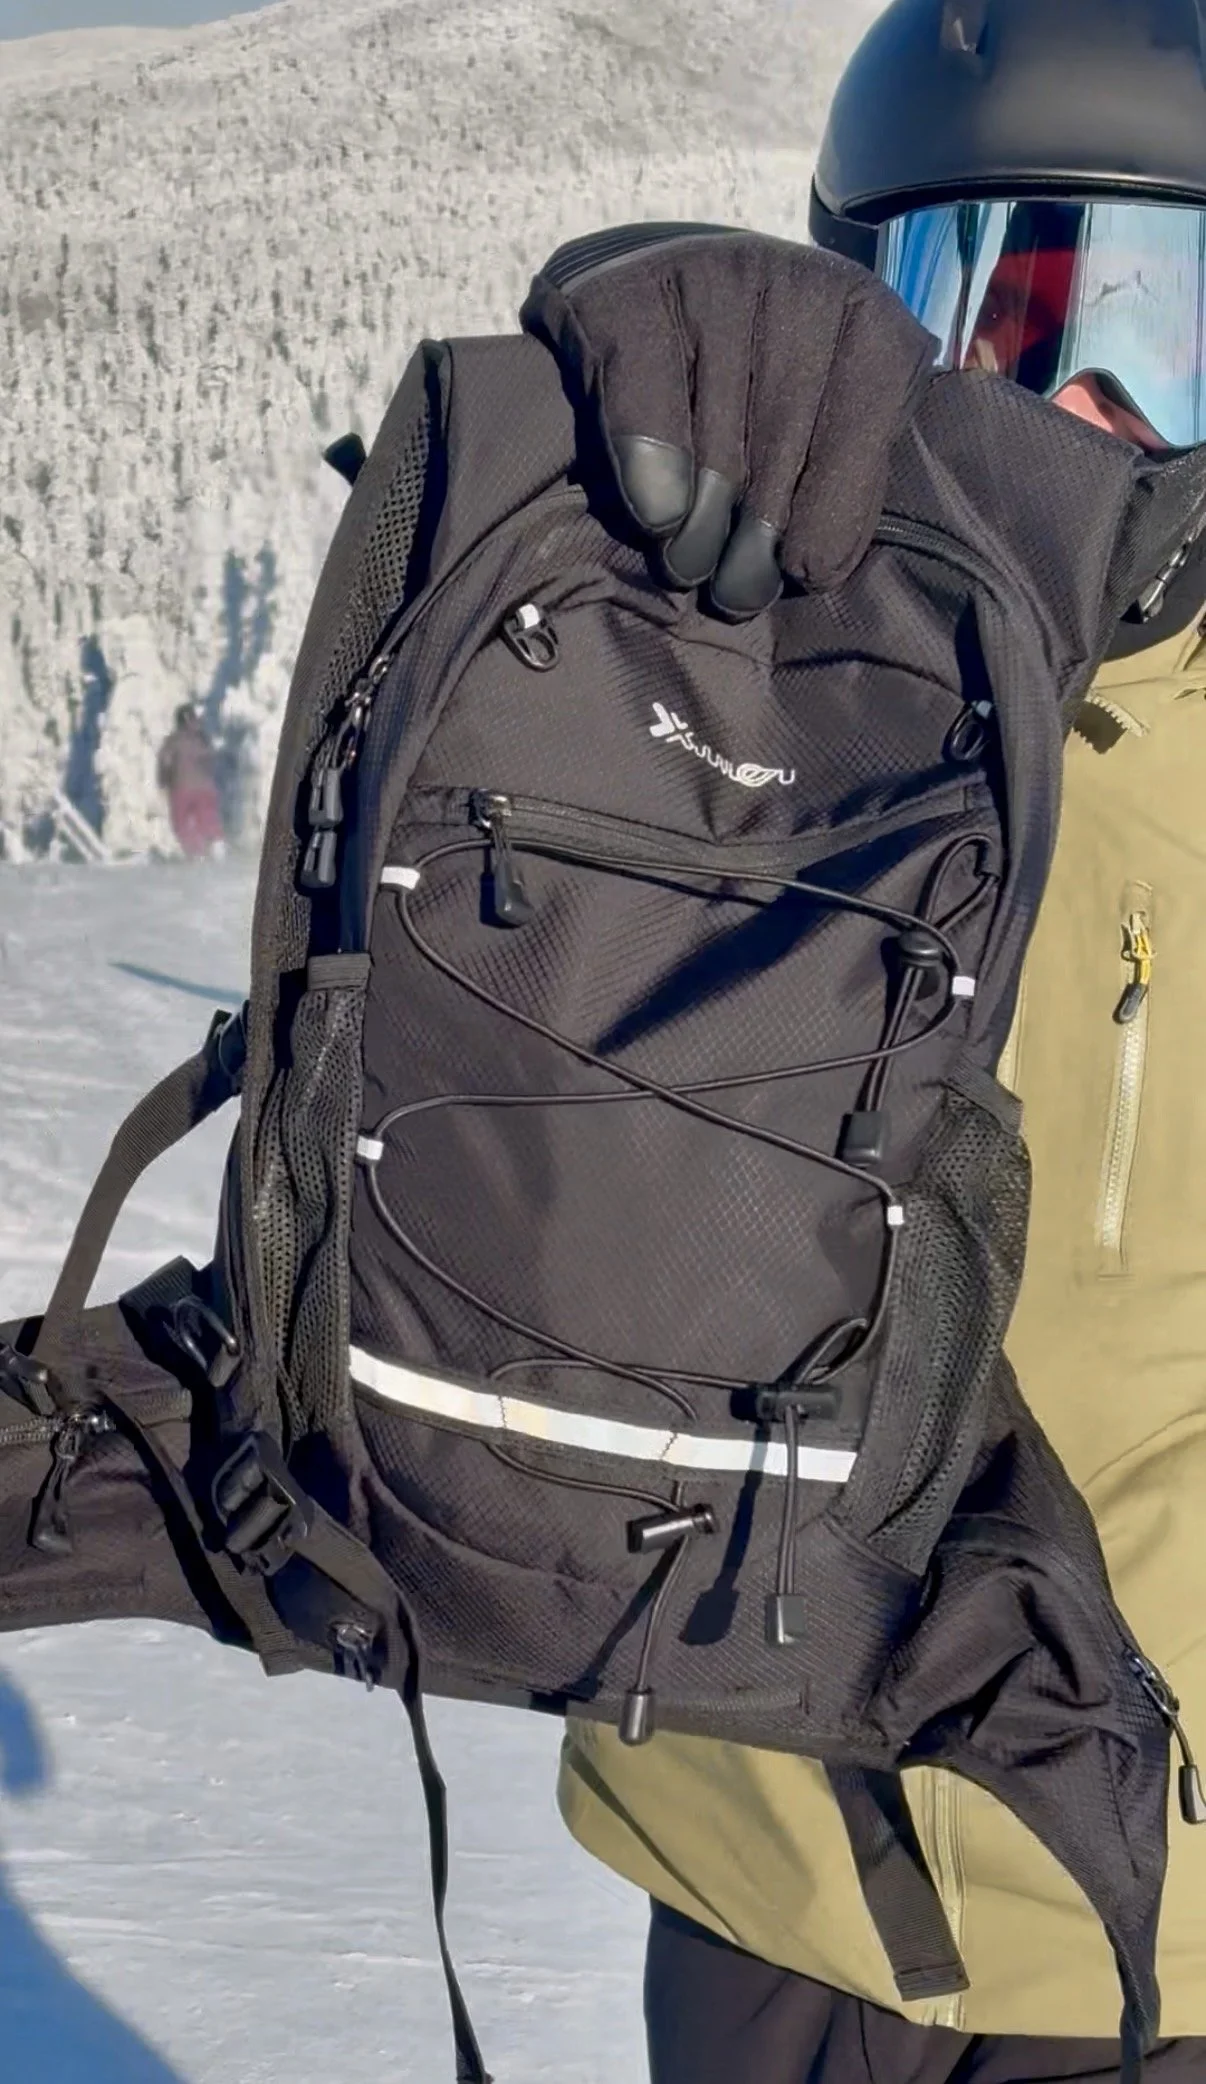
15L is the perfect size and to be honest I hardly noticed it whilst I skied
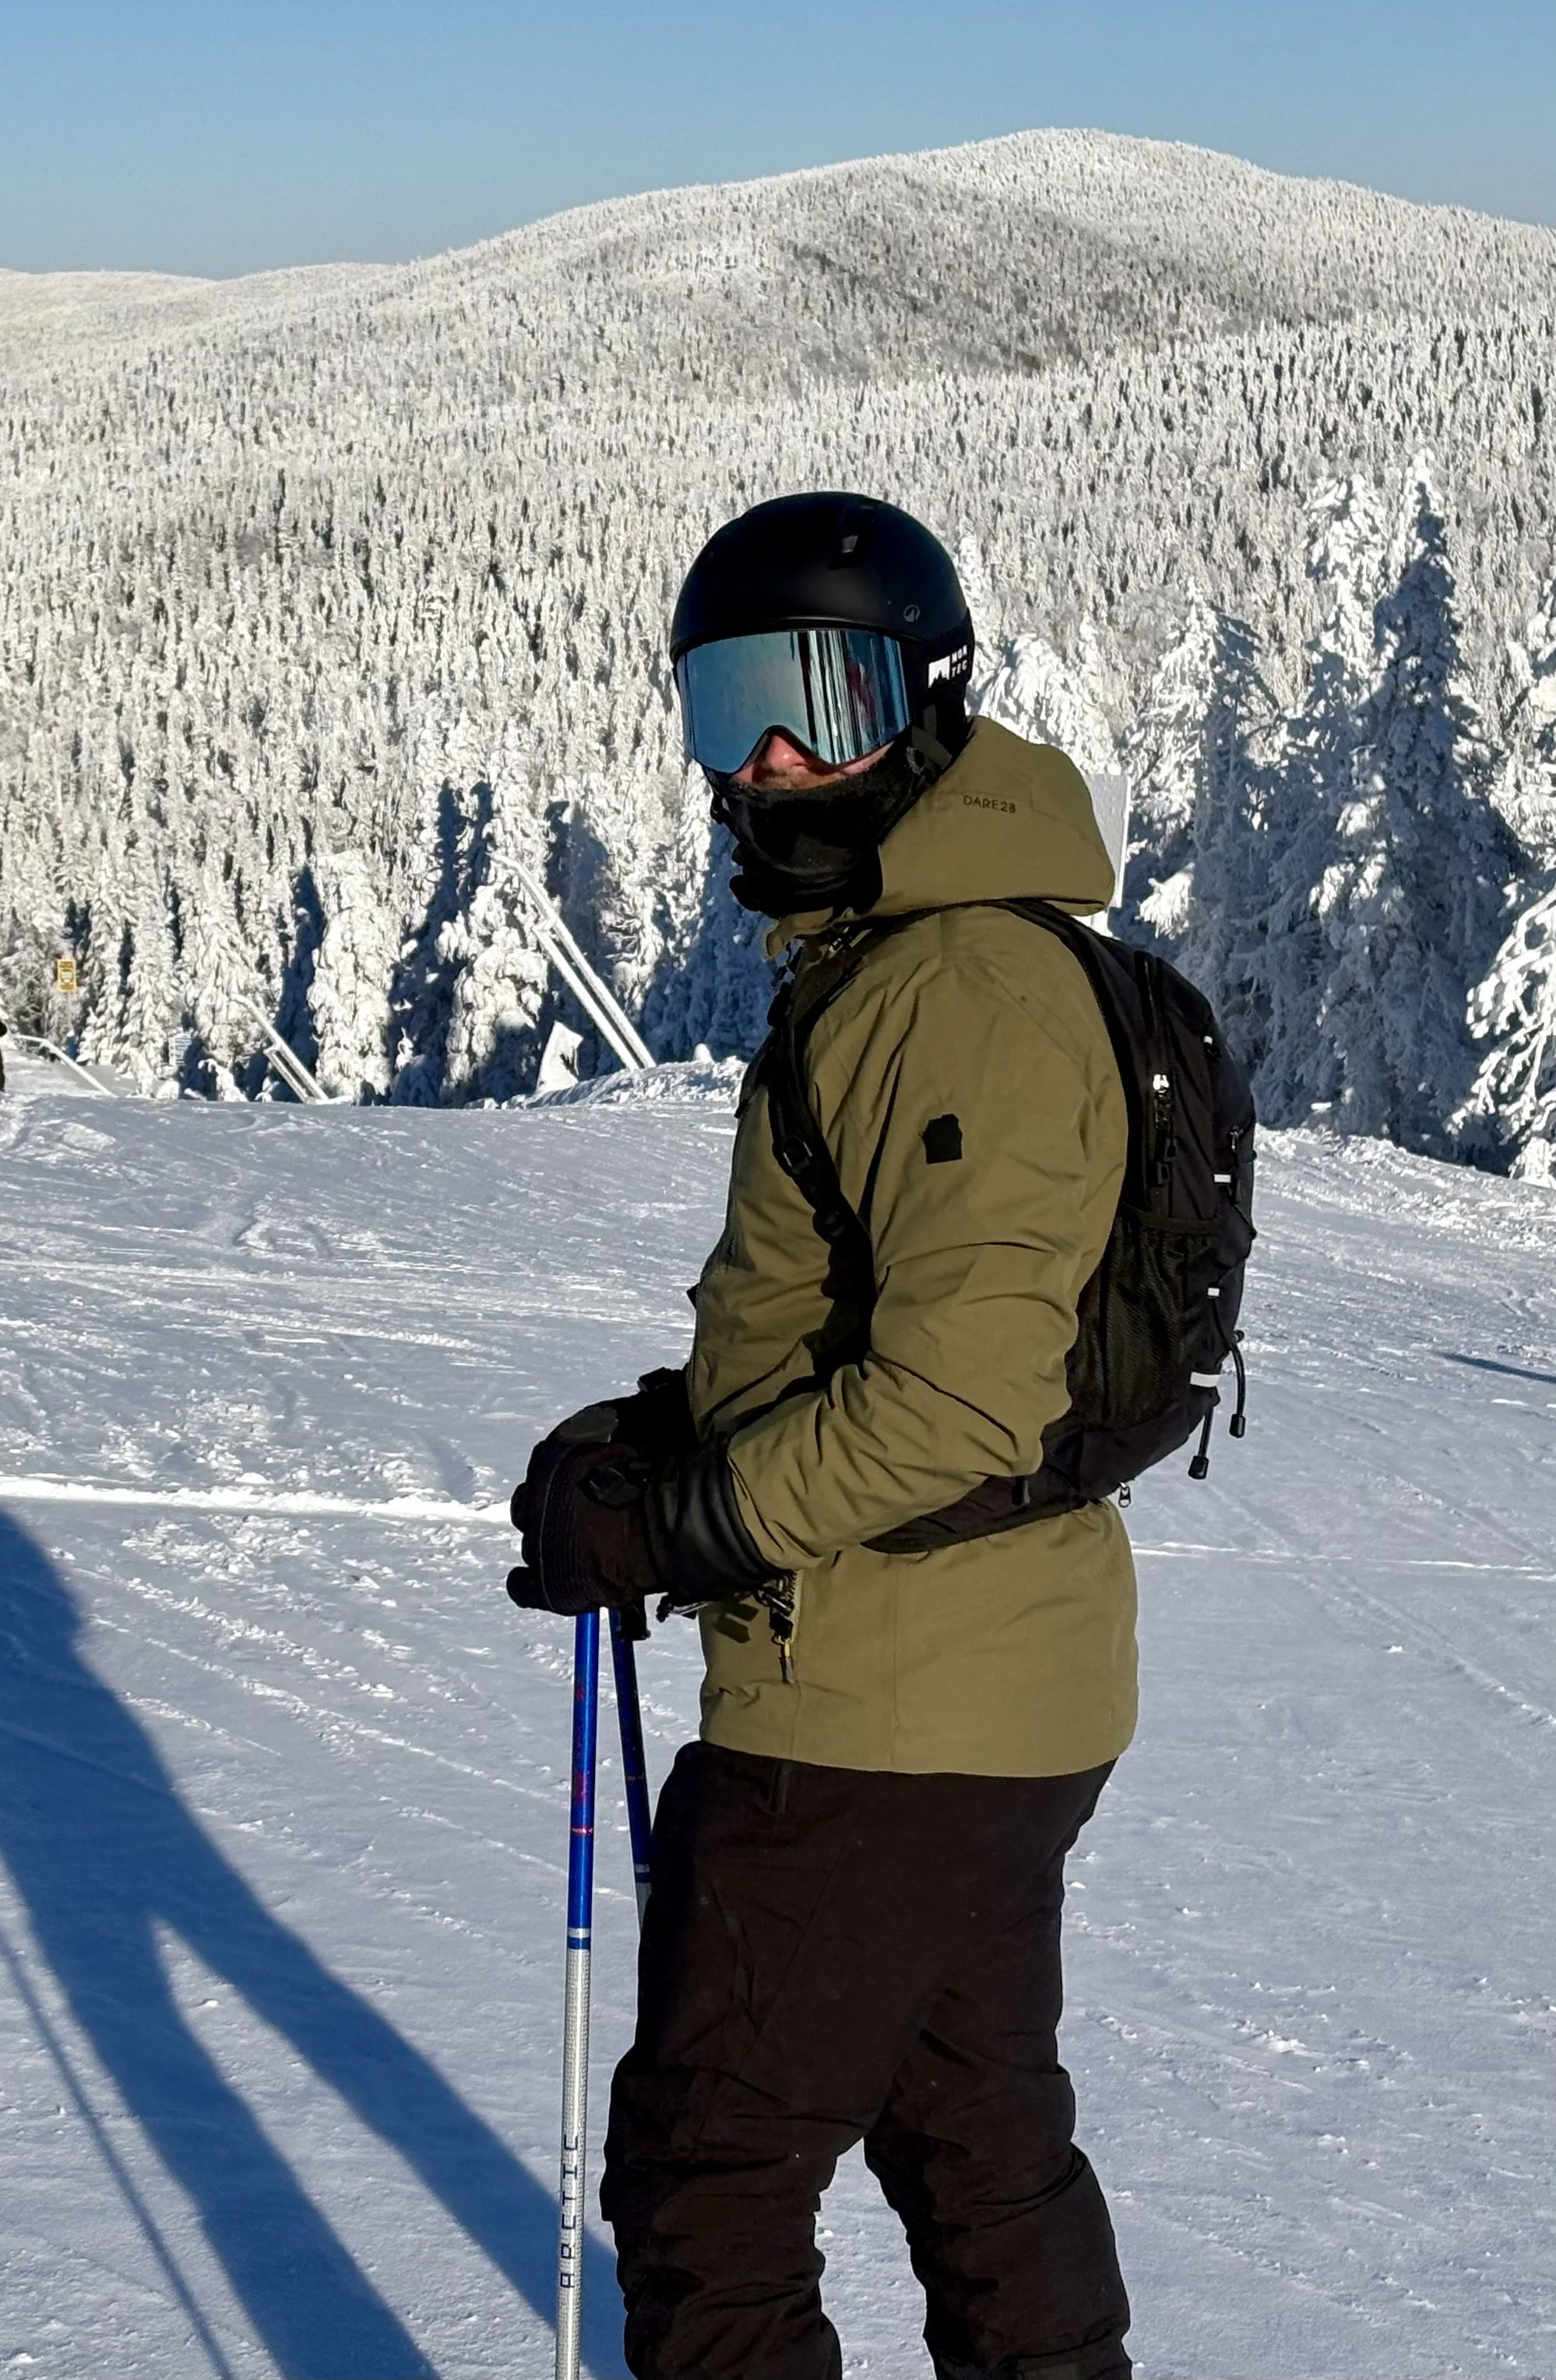
Goggles for Different Conditions
Orange lens for overcast
Blue lens for sunny days
This is something I only started paying attention to on more recent trips. Before that, I just used whatever I had.
Having the right lens for the conditions makes a noticeable difference — especially in flat light where visibility can be poor. I used these goggles from Montec — they performed really well, and I had a few people ask about them on the slopes. I felt like they added a nice accent of colour to my outfit.
Shop my picks:
Orange lens goggles → MONTEC Ski Goggles Black W/Black Ruby Red Mirror
Blue lens goggles → MONTEC Ski Goggles Black W/Black Moon Blue Mirror
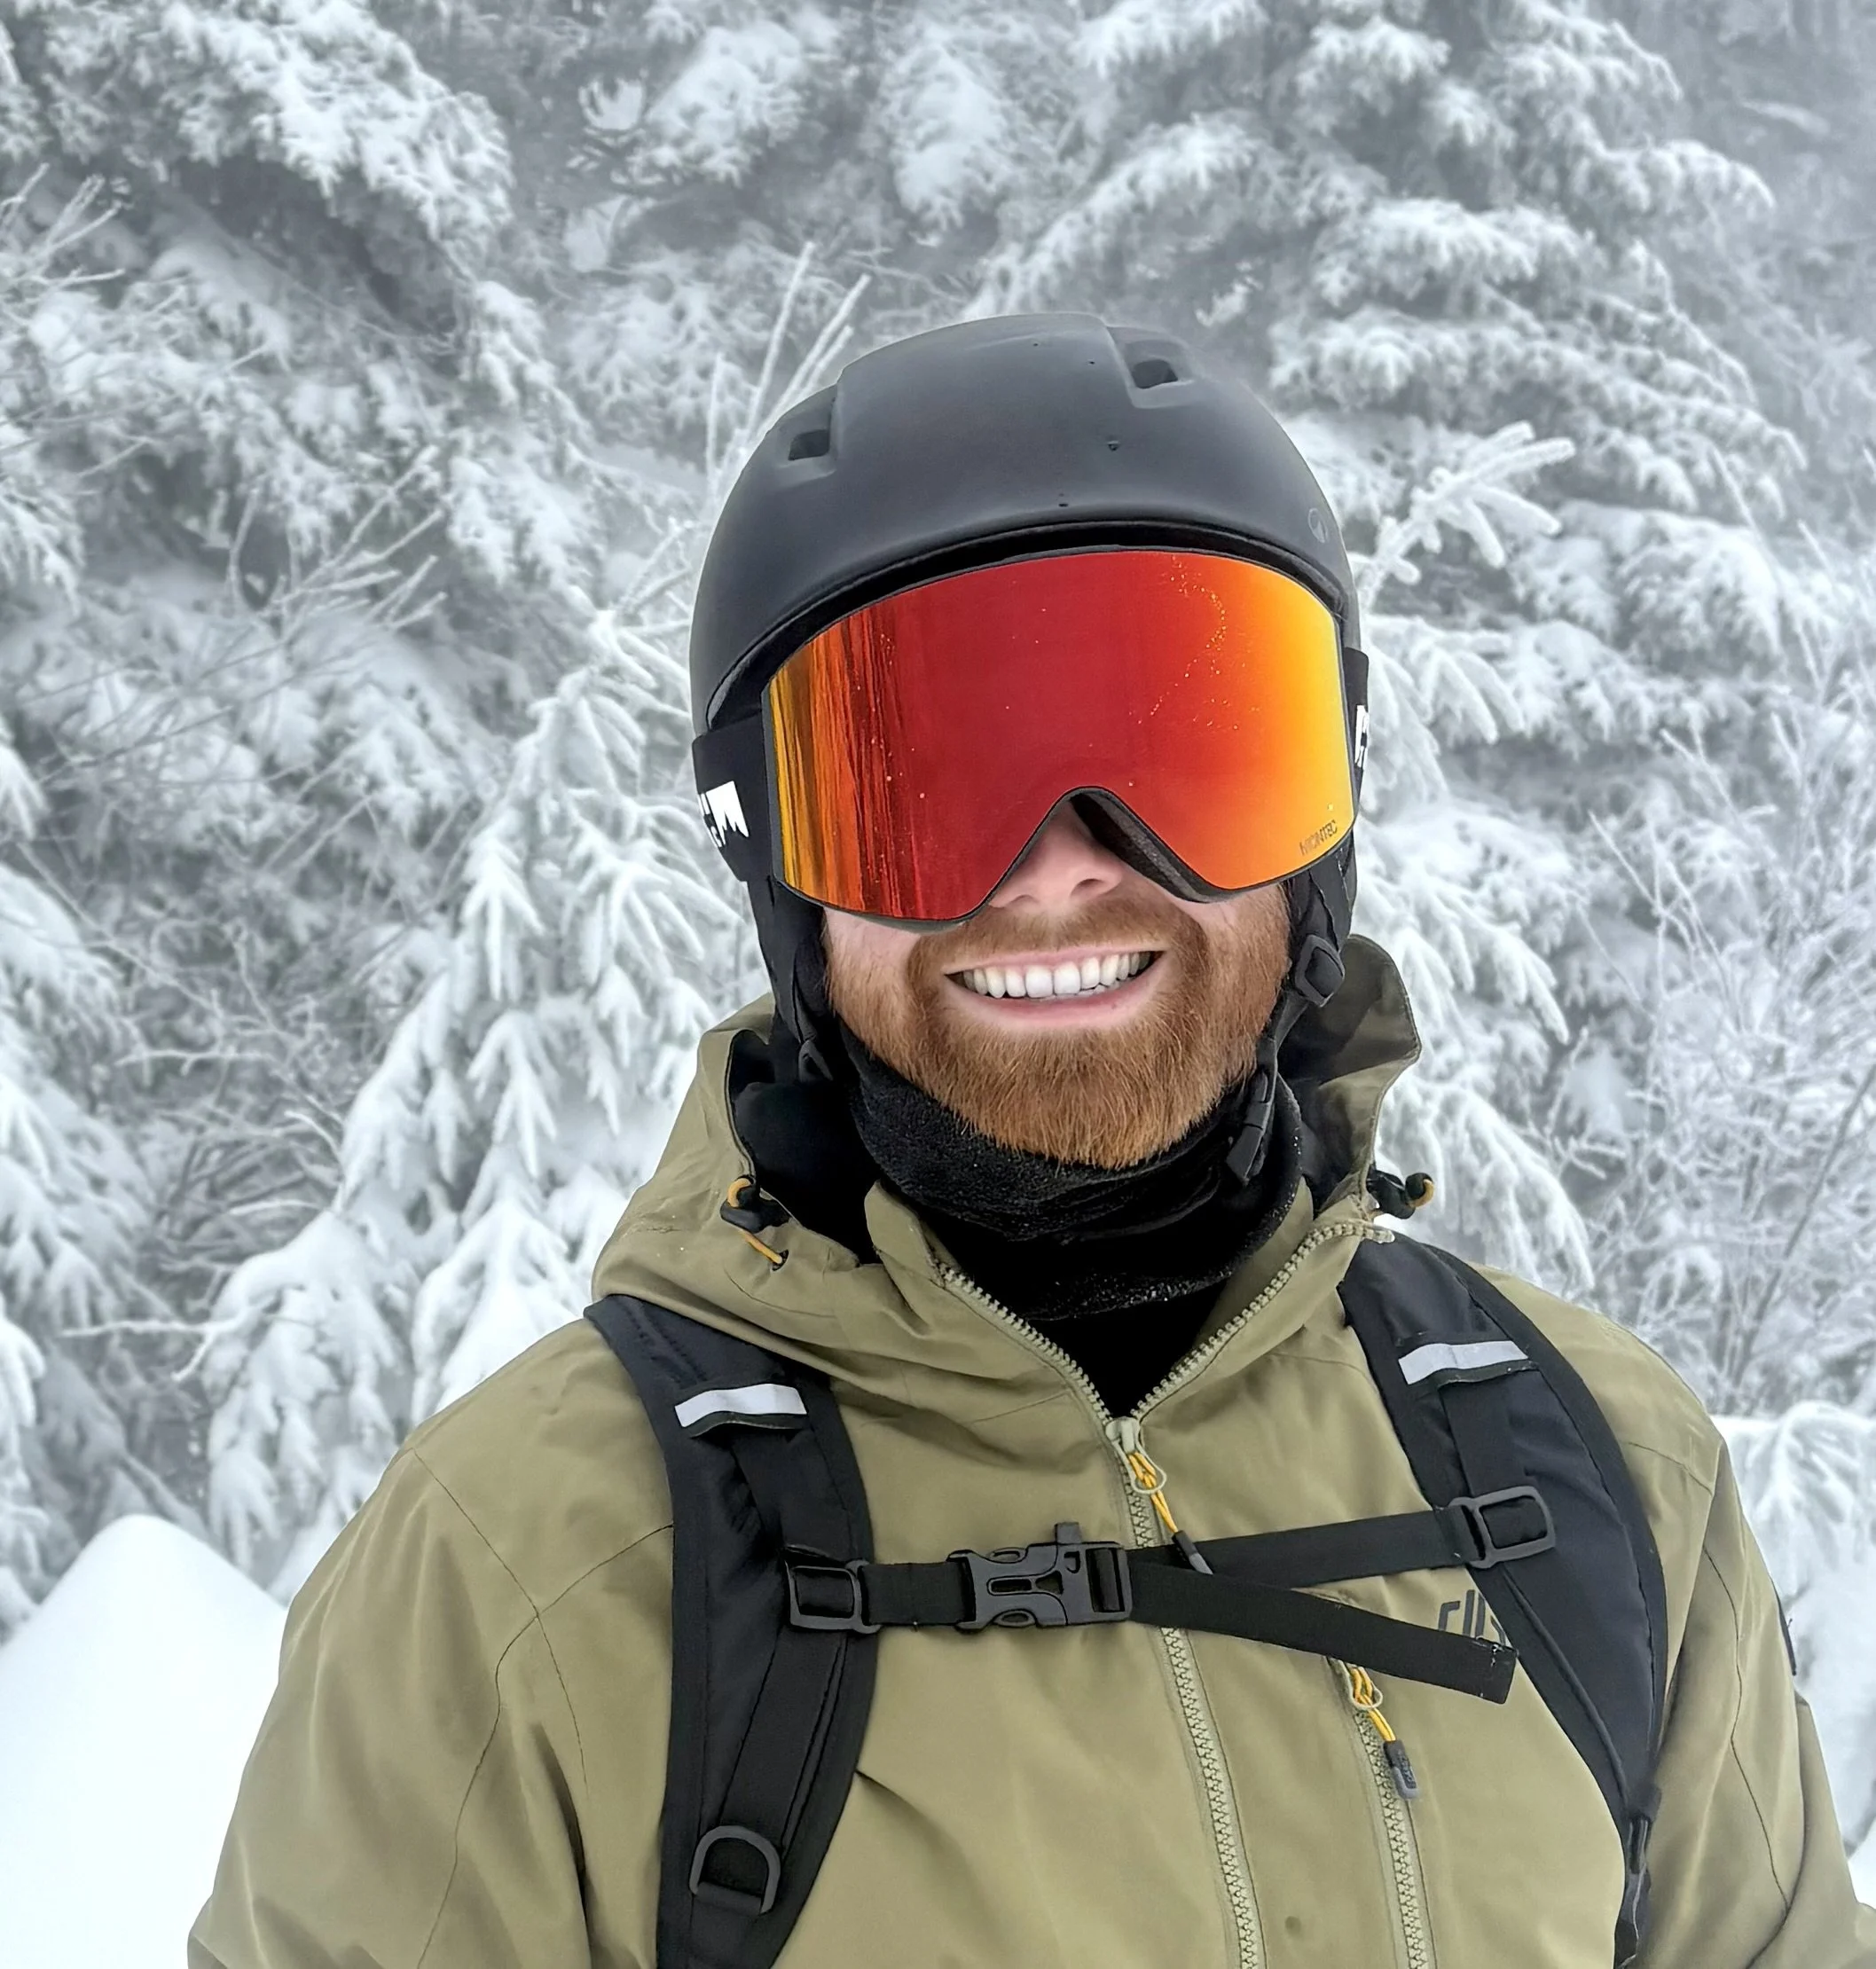
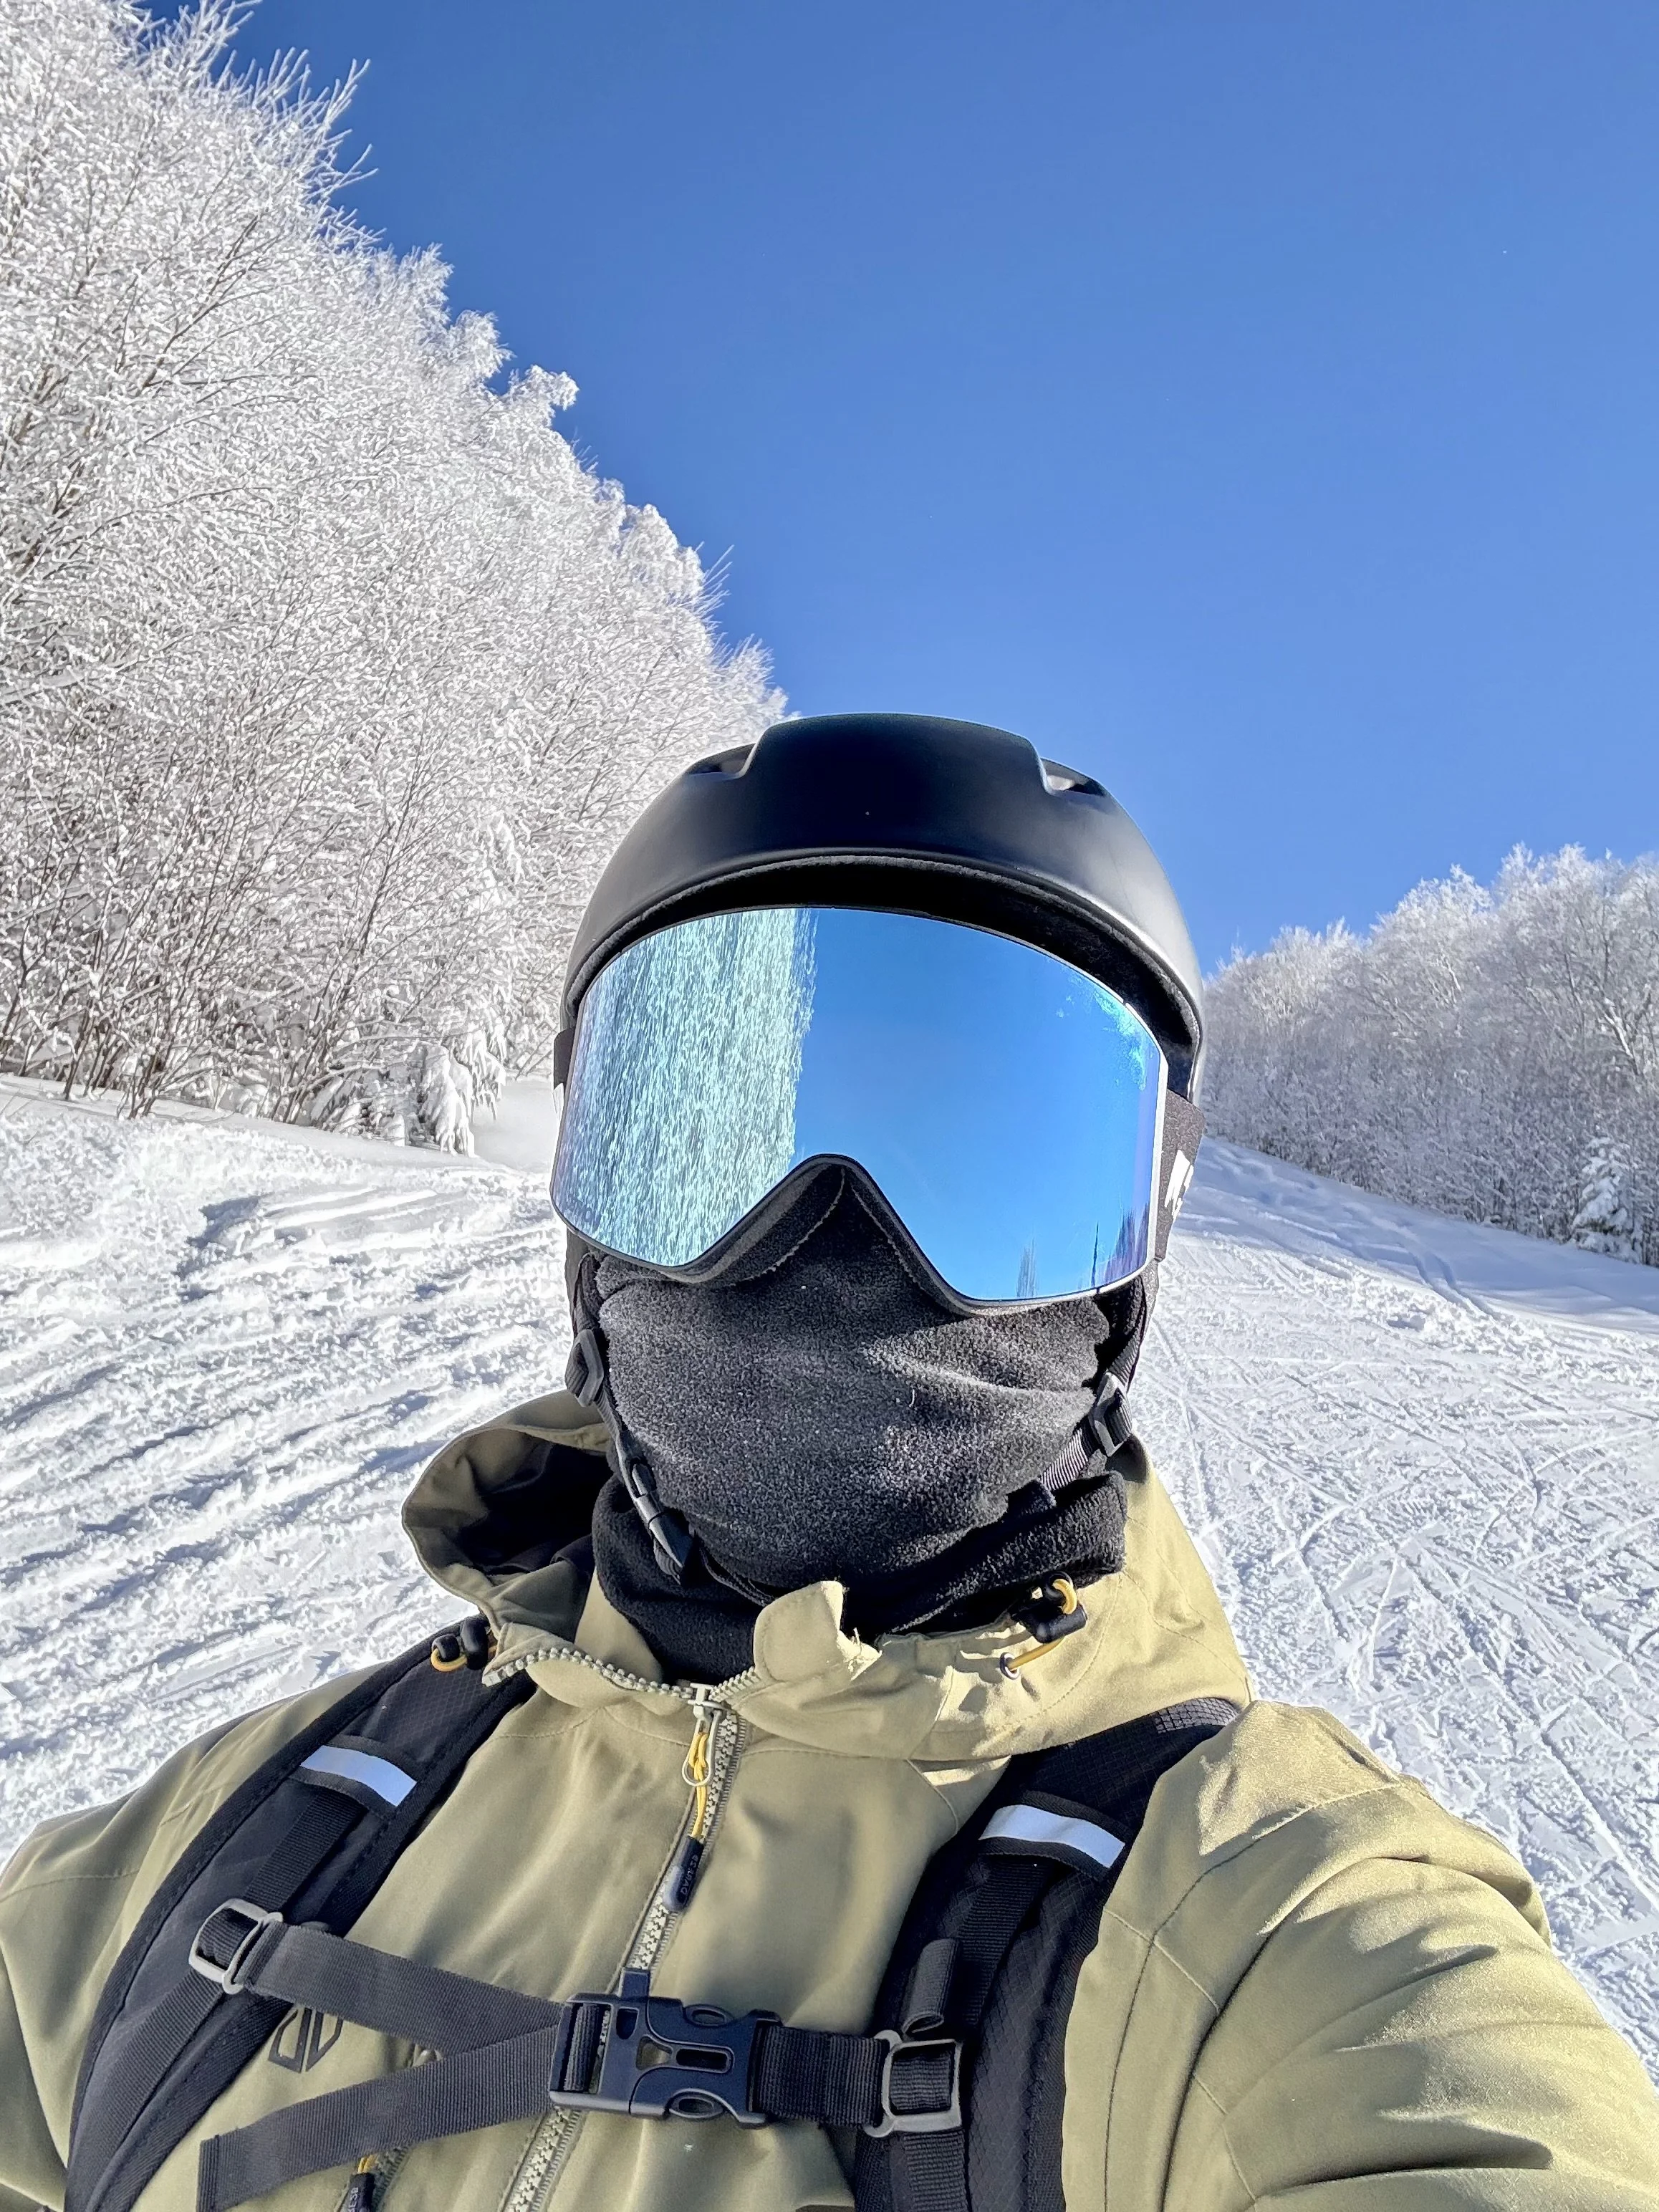
I loved the accent of colour that these goggle brought to my outfit
Ski Wrap and Poles Connector
Not essential, but a small improvement that makes logistics easier — particularly at the start and end of the day. If you hire skis it’s highly unlikely you will be provided with these, so worth taking your own.
Shop my picks:
Ski wrap →BBTO 2 Pack Ski Carrier Strap
Poles connector → PATIKIL Trekking Pole Clips, 4Pcs
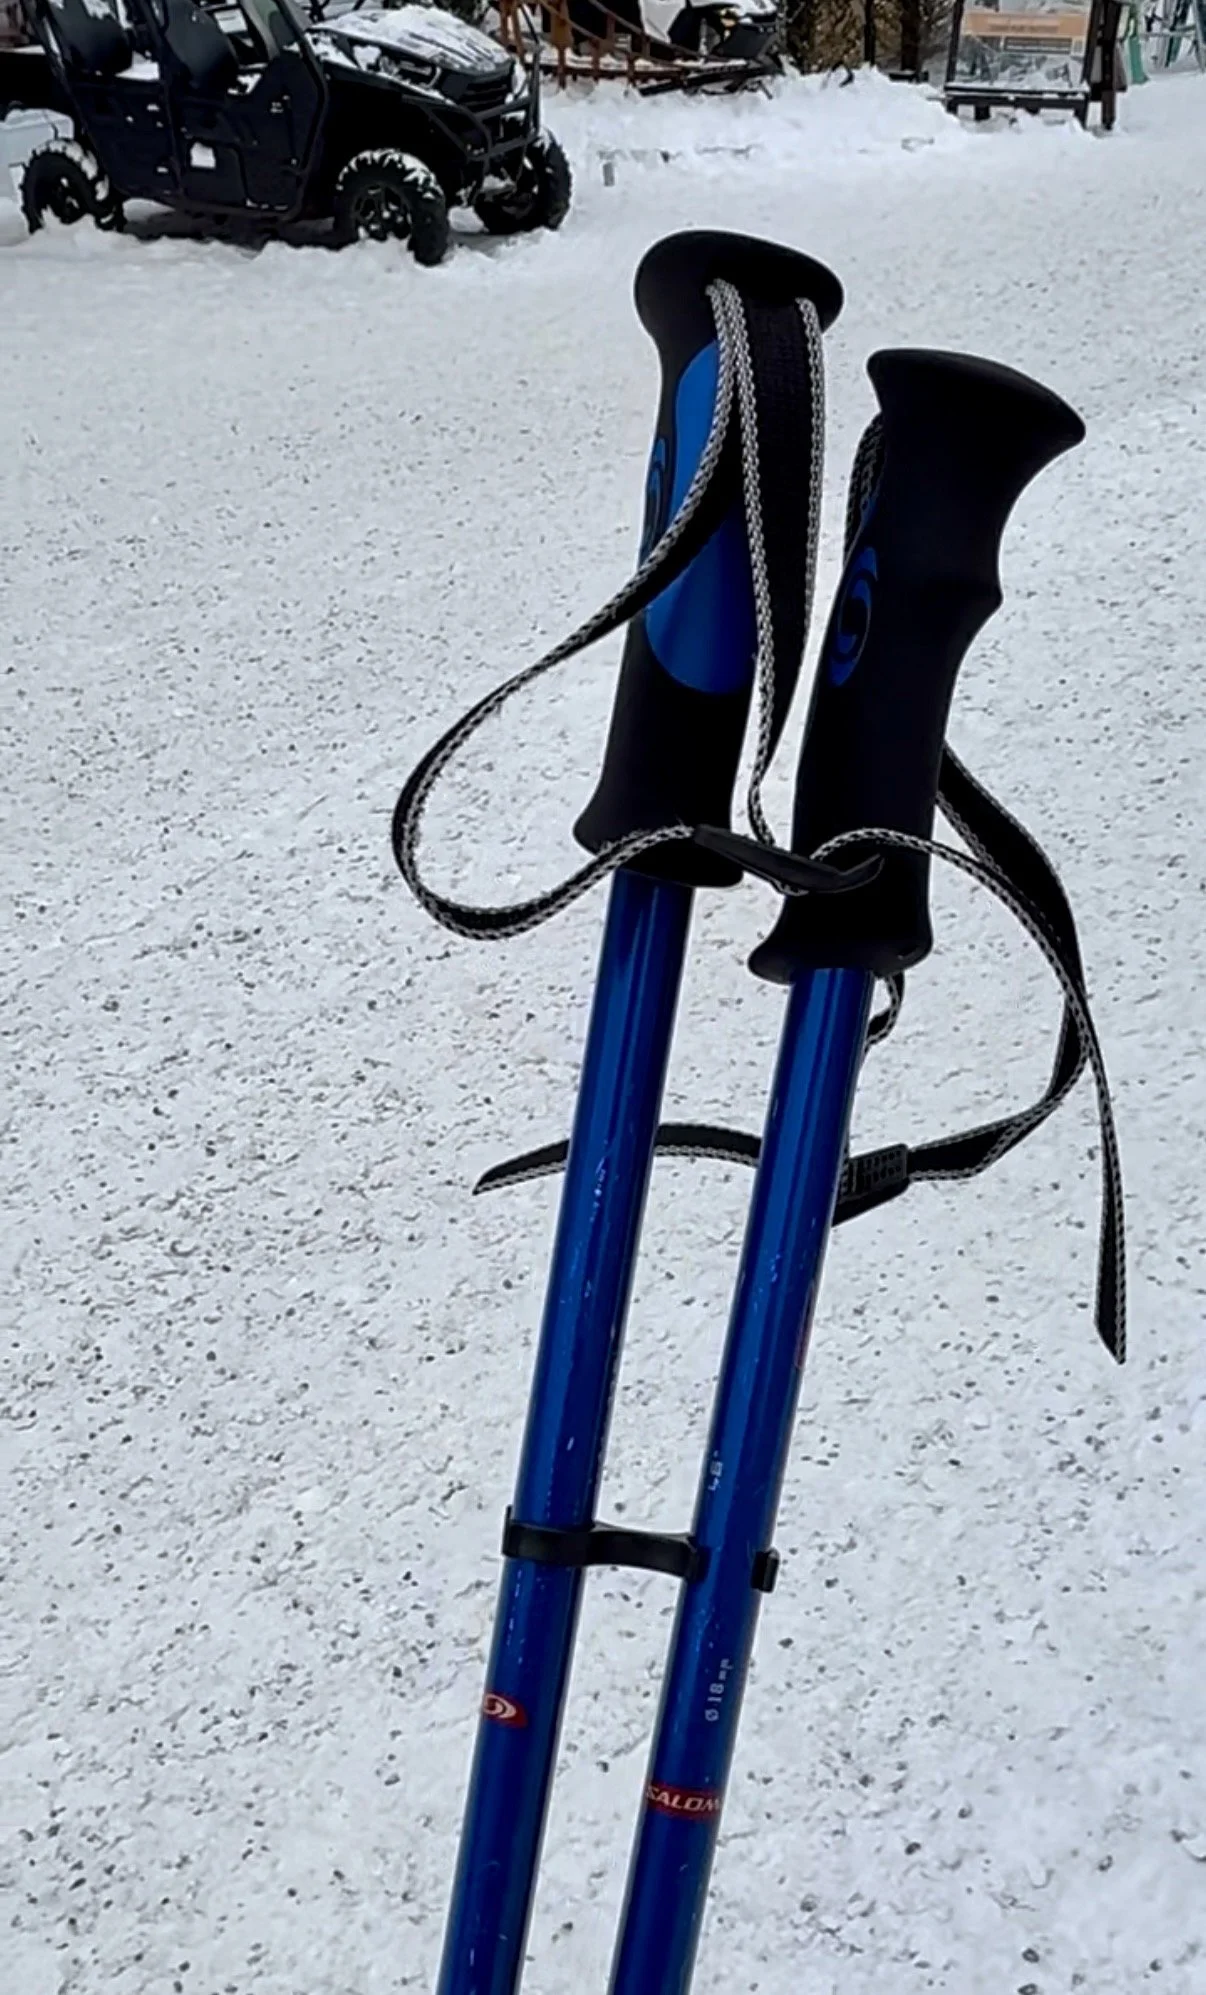
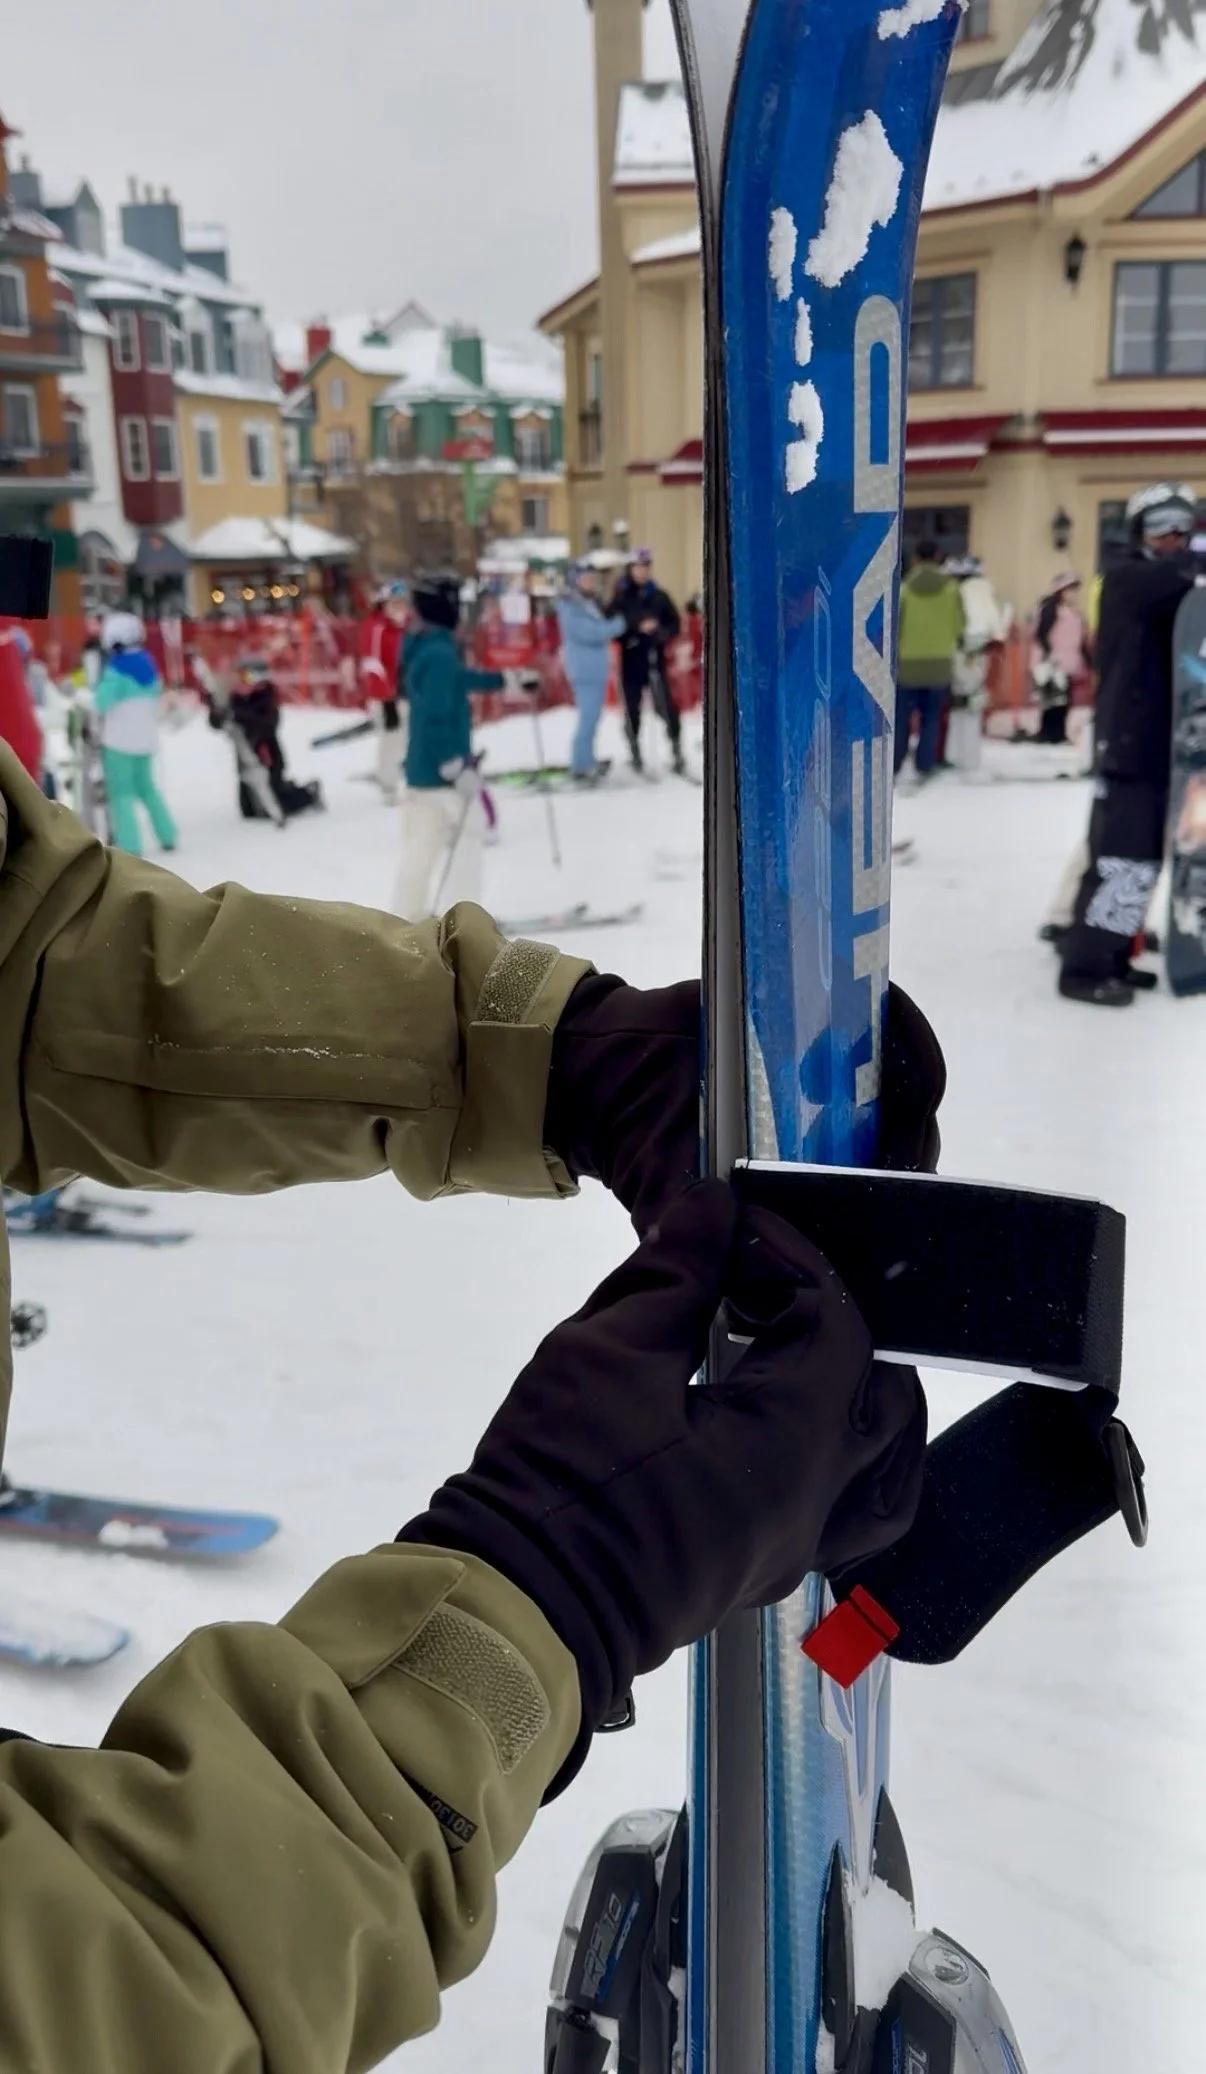
These wraps and connectors help to keep everything together during transport and easily fit in your pocket whilst skiing
A Few Extra TIPS That MaKe a Difference
These are the smaller, less obvious ones that stood out over multiple trips:
Keep Your Phone Warm
Cold drains battery very quickly. I keep mine in an inner pocket — something I only learned after it kept dying early on previous trips.
Start Warm to Stay Warm
Keeping everything indoors and next to a heat source overnight makes a noticeable difference. I put my hand warmers inside my gloves before putting them on so that they are already warm. Airing them out this way also prevents them from getting that horrible damp sweaty smell (which is quite specific to skiing).
Plan for the Transitions
A lot of the discomfort isn’t while skiing — it’s:
Standing at lifts
Walking around pedestrian areas
Stopping for food (don’t underestimate this one!!)
After skiing when you are sweaty and heat is rapidly leaving your body
These are the moments where the right setup matters most.
Hydration Is Easy to Forget
Cold weather masks thirst, but you still dehydrate. Having a drink or flask helps maintain energy. I am a big coffee drinker and need the caffeine if I am doing a ‘first and last lift’ type day.
Final Thoughts
This list has been built gradually over multiple trips — adding things that worked, removing things that didn’t, and upgrading where it mattered.
The pattern is pretty consistent:
Get the fundamentals right (outerwear, base layers, gloves)
Add small upgrades that improve comfort (warmers, backpack setup)
Focus on reducing friction throughout the day
It’s not about having more — it’s about having the right things.
I hope that you found this blog post interesting and useful. I’ve refined this schedule over many trips — but I’m sure there’s more helpful products out there.
Let me know what you’d add in the comments below.